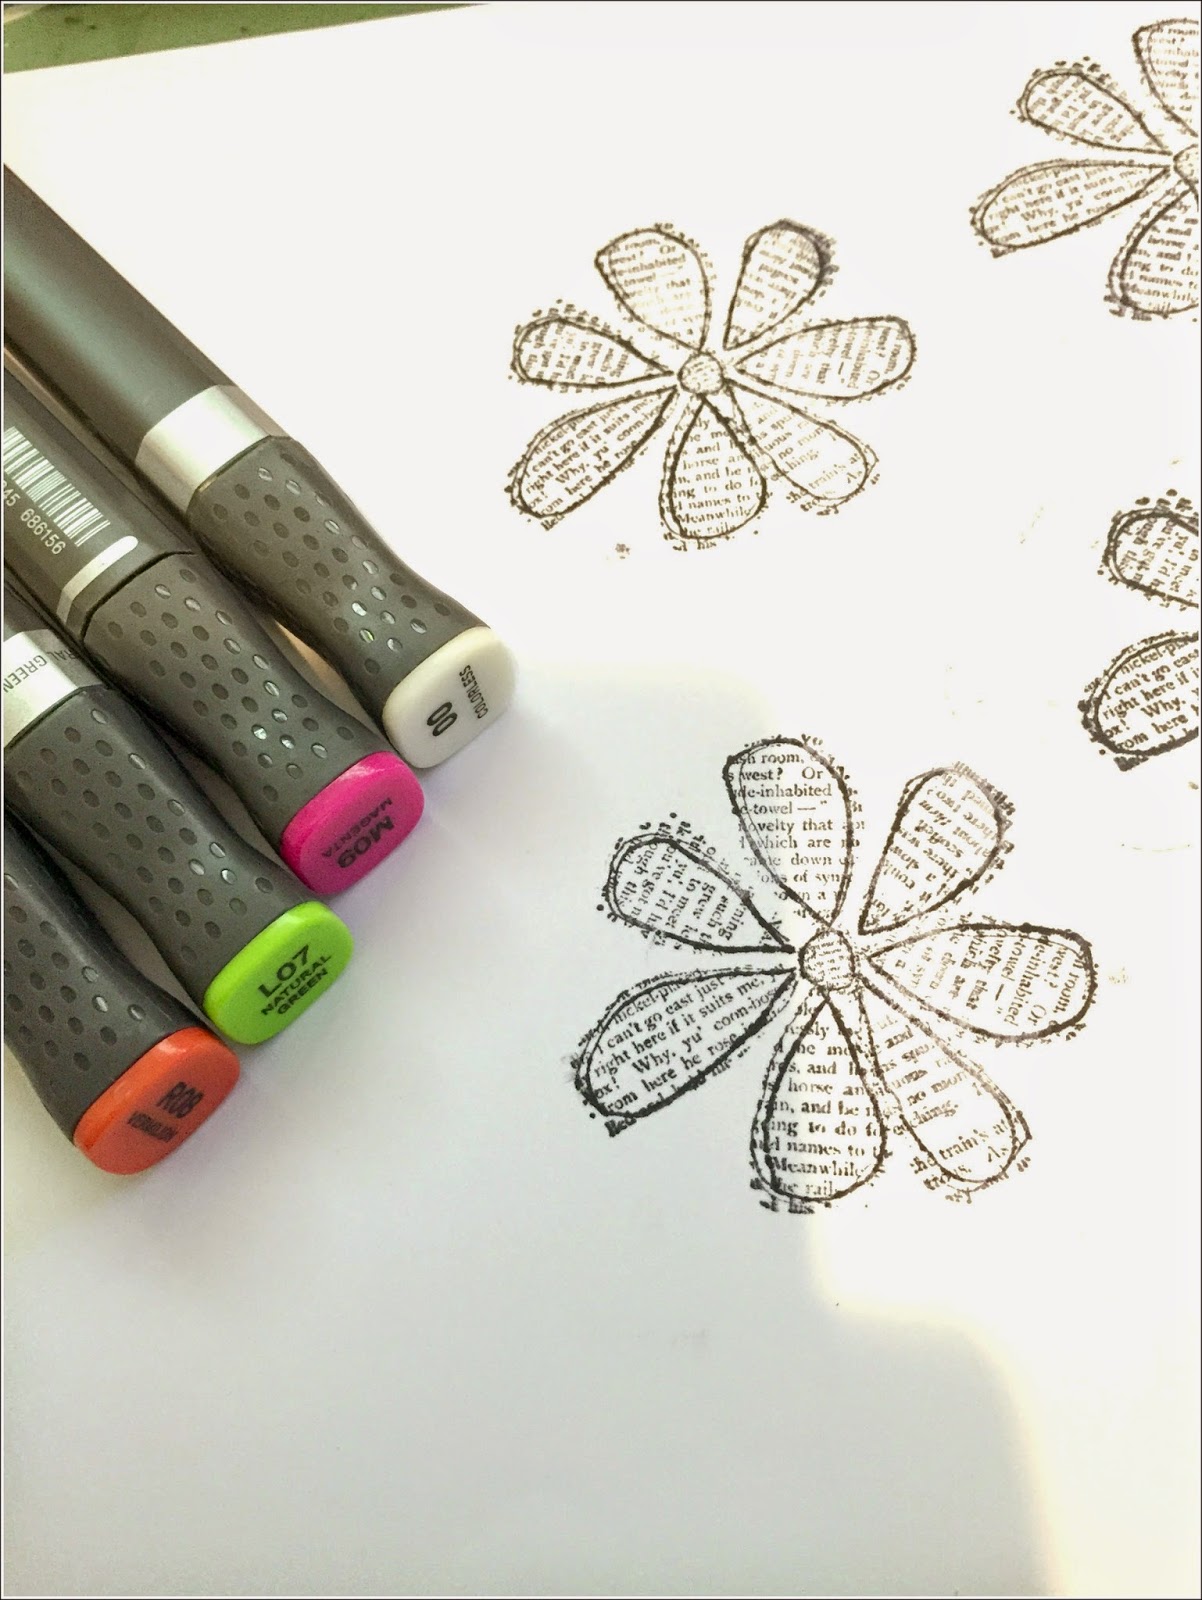
Recommended Supplies
CANSON 220gsm Drawing Paper (I used A4 size)
Mexpy Brush Marker 24 Pastel Set
Mexpy Design Marker 24 Basic Set
Black Fine marker
White Geli Roll pen
2H Graphite Pencil and eraser if you are drawing your own sketch (other wise trace a picture in your preferred manner)
A light grey alcohol marker (preferably Mexpy) or even a coloured pencil would be OK
Gold Paint Pen
Step 1: First of all you will need a drawing. I like to draw mine free hand, but if you are not a confident drawer you can always use a tracing. I always use a light graphite such as a 2H as it doesn't smudge too much and erases well. I am using CANSON 220gsm drawing paper.
 |
| Step 1 |
Step 2: I started with a base layer of N51 (Cloud Cream). Note how I left some areas white. These are where I imagine hi-lights would fall on the face. Alternatively you can do these last with white acrylic paint. I used the chisel end of the pen to get quick coverage.
 |
| Step 2 |
Step 3: Determine where you imagine light and shadows would fall, and areas where features of the face come forward and recede. Colour in a first layer of shadow in N01(Wood Ash).
 |
| Step 3 |
Step 4: Don't worry if things look weird and patchy at this stage - they will do for a while. To help blend the two colours together do another layer of the Cloud Cream as shown below.
 |
| Step 4 |
Step 5: Next I want to add some cheek colour. I am starting with my light cheek colour, R00 Sun Kiss. I like to add a bit of the cheek colour to other areas of the face and neck also.
 |
| Step 5 |
Step 6: For darker/shaded areas I chose a darker cheek colour, R32 Peach. I almost always use the brush end of the pen, because I really love it.
 |
| Step 6 |
Step 7: I go over all cheek colour areas light and dark, with the R00 again to help blend them together.
 |
| Step 7 |
Step 8: Next I am going in with even darker shaded areas, using N05, Sand Storm.
 |
| Step 8 |
Step 9: I then go back in with my mid colour, N01 Wood Ash to help blend. Then over the entire face (except the hi-light areas) I have used W31, Bridal Skin. See how this is really starting to bring all the colours together?
 |
| Step 9 |
Step 10: I am leaving the face for a while now as it will change slightly as the alcohol in the ink evaporates, and I want to see how it ends up. I'll move on the the upper lash line and the pupils. These are very often the darkest hues and whilst I could use a Black, I am experimenting with mixing my own blacks. So I have used P08 Blue Violet, and G29 Pine Green both from the Design Marker range (they have a harder finer tip instead of a brush tip) and layered them. Don't forget to leave a hi-light in the pupil for beautiful starry eyes.
 |
| Step 10 |
Step 11: Do the same as step 10, for the nostril. I LOVE violet eyes on my girls. The colours I have used for the irises are V15 Rosebud, P04 lavender and B12 River Blue. Try to get a variety of colour, light and dark in your eyes .
 |
| Step 11 |
Step 12: Our eyeballs are spherical not flat so some shading around the edge of the eye will help reflect that. I didn't have a soft grey in my Mexpys so I borrowed one from another alcohol marker range but you could also used a coloured pencil.
To do the leaves I have outlined them with G29 pine Green filled them with both G07 Vine Green and L09 Fresh Green.
 |
| Step 12 |
Step 13: I have started the hat detail with V15 Rosebud and P00 light Violet. I also added a bit more of this these colours into the iris. I like to repeat colours here and there to bring a picture together.
 |
| Step 13 |
Step 14: Now for this step I would like to share with you a little trick. You can use the 00 Colourless Blender Marker to remove some colour. I have done this in the leaves, some areas of the hat AND on one side of the iris. Can you see how this little thing can really make a difference?
 |
| Step 14 |
Step 15: Next I am doing the hair. Lay your brush strokes in the direction of the hair, in this case curved around the head, to help indicate the head shape. Start with a darker colour first, I've used W29 Sienna.
 |
| Step 15 |
Step 16: The mid shade for the hair is W07 Light Mahogany, and the light shade is 006 cadmium Orange.
 |
| Step 16 |
Step 17: I have then blended over the entire hair with N18 Sepia. The same colours have been used in the eyebrows.
 |
| Step 17 |
Step 18: I decided she needed some lipstick, I've gone for V06 Iris Purple (and then added some of that into the hat area) and V15 for the lip shadow.
 |
| Step 18 |
Step 19: I really enjoy colouring my girls like they are wearing make-up. So I've gone for Greens as they really accentuate purples. I've used G29, G07 and G20 as eyeshadow colours.
 |
| Step 19 |
Step 20: To help blend the eye shadow colours I went back over the entire area with W31 Bridal Skin. I've also added Sun kiss R00 to colour the tear ducts and redefined some of the shadow areas using N05 Sand Storm.
 |
| Step 20 |
Step 21. I've blended over all the skin area again with N51 Cloud Cream. It's always good to have the one base skin colour to bring all the shades together.
And I begin the bird. As this is really all about the face, I will just let you colours I used W37 Chocolate, W29 Sienna, 009 Red Ochre, 013 Sunset Gold and 120 Black.
I've also deepened the eye colour with some of the shading colours, W29, N05 and N01.
I've gone over the entire neck area with No1 Wood ash to bring the colours closer together.
 |
| Step 21 |
Step 22: A little more shading on the top lip. P08 Blue Violet in the crease between the lips and another layer of V06 Iris purple to deepen the colour, especially where the lip would appear more shadowed.
I've added W37 Chocolate to define the outside of the face, nose and neck (on the left hand side).
 |
| Step 22 |
Step 23: Beautiful lashes! I've used 1the 20 Black design marker, plus a Black Fine Liner Pen to add lashes and define the last line,
 |
| Step 23 |
Step 24: Now for the final details. I've used a gold pen to add trim around the hat and for the jewels, and black fine liner where required. For the jewels I used V15 Rosebud and M29 Crimson.
I've also used bit of white gel pen to add hi-light to the jewels and an extra hi-light to the eye and top lip.
For the clothes I just used the same colours as the hat.
 |
| Step 24 |
Step 25: I wasn't overly happy with the hat so I did a bit more detail with a black pen to give it a pleated fan-line effect.
I also used the colourless blender to remover some colour thus hi-lighting certain areas. You will notice it in the lighter part of the hair, on top of the cheek bone, around the outer rim of the hat and in the middle of the jewels - Oh and to add some polka dots to the shirt.
 |
| Step 25 |
Step 26: To quickly finish the background I just used a couple of Distress Daubers.
 |
| Step 26 |
Step 27: I felt she was looking a bit pale in the cheek so I went back in with my original Cheek Colours, R00 and R32 and repeated the process.
To finish the entire face and give one final blend W31 Bridal skin was layered again (except for the white hi-lights).
 |
| Step 27 Done! |
Tomorrow I will show you how you can reuse your beautiful portrait to create a new Mixed-Media art piece or journal page.