 5 Tips for better colouring.
Last week I was in Sydney at the Museum of Contemporary Art looking at books as I like to do, a couple of ladies were looking at the selection of adult colouring books and one said
"Oh I so want to get one of these but I won't because I can't colour in very well and it all just looks like a mess!"
....I couldn't help but wonder.. "How can you not colour in well?" but then it occurred to me that perhaps there might be others who feel this way so today I thought I would share some of the basic coloured pencil tips that I often start with in my classes but would be useful for those who have caught the colouring bug.
Used in this demo is Millie Marotta's - Animal Kingdom book. Pencils, Mepxy Markers and Sharpener, here are the tips.
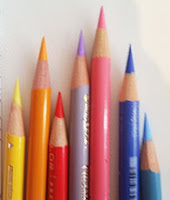
 #1 Pencils - First tip I can give you is to is obviously have some good pencils! Good quality artist pencils are always a must, and if you are creating coloured pencil artworks they are super super important but if your just colouring at home just grab the nearest ones you can find !!! :)
#2 Sharpener You are going to need a good sharpener, you need to have a sharp tip on your pencils if you want the colouring to look nice and smooth. If your leads are breaking alot it can be that either your pencils have been dropped or your blade is blunt on your sharpener and you need a better one. I can't tell you how many different types of sharpeners I have tried. The best i can recommend is a Elipse sharpener for a handheld one... or one like this photo of a battery one which i picked up for about $8- in woolies.
#3 PRESSURE!!! Not pressure on how it turns out.. afterall this is supposed to be enjoyable, but i am talking about the pressure you put on your pencil on the paper. It is better to use a lighter pressure and do more layers to build up colour rather than to push hard. In my classes we spend almost all day talking about pressure. For your colouring books I can just say go lightly like i have in this photo where you can see my so you can see I have applied more layer of pencil in one section than another but its all about pressure.
#4 LAYERS - As i mentioned above ... layers are super important, build your intensity of colour with layers I am talking 5/6 layers rather than pushing hard (in my artworks i do over 25 layers of pencil) so my rule of thumb is keep going until your happy!
#5 Here is my special tip !! BLENDING! Get yourself a Colourless marker, I am using Mepxy colourless blender. It has a really nice brush tip and you can gently blend all the layers of pencil together. You can do this process a few times. The pic here shows before i have used the marker on the pencil.
Here is an example of on the left no marker and then after the marker and more layers are applied on the right.
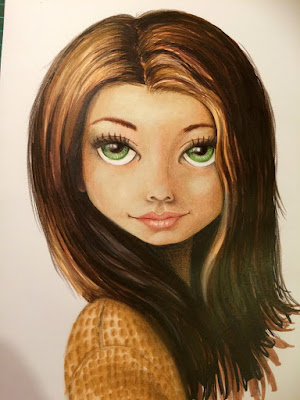
You can see how much more depth and interest that is created using the blender as it smooths out the colours and you can add more layers on top of that. You don't have to use the marker to blend, like my friend at the art gallery you could just use a light hand and layers you will definitely be on your way to colour better and create a more interesting end result and if your anything like me you will zone out and just enjoy the process.
Hope you enjoyed this one, please leave a comment below if you have caught the colouring bug, I would love to hear all about it!


