MEPXY MAX 17TH EDITION
My Darling Deer - Part 2
BY Ash Chain
Created with Canson Drawing 220 paper and Mepxy Brush Markers
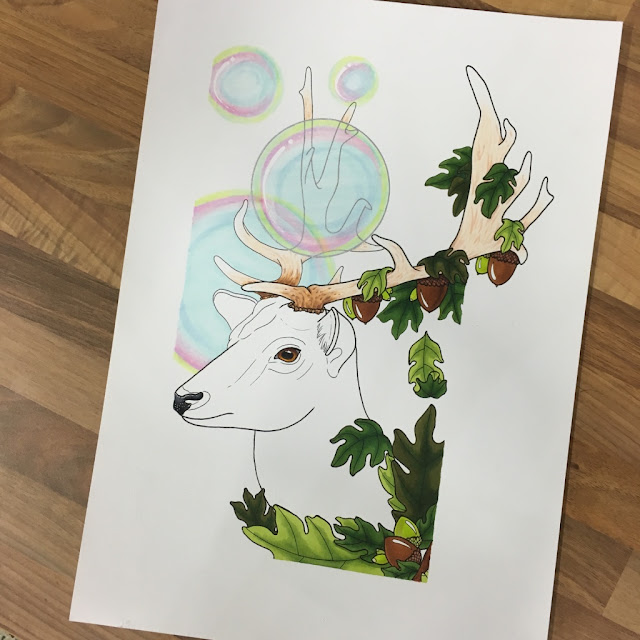
Hello all and welcome to part 2 of this tutorial. For this cute I'm going to try my hand at bubbles. I want to try and create that "oil slick" type of effect on the bubbles. SO let's do this.
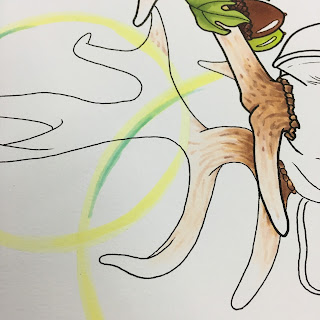
From the previous tutorial I had already outlined the bubbles with lead pencil, so now I go around the inside of the circle as close to the lead line as possible with my brightest yellow (Y11). I then use an eraser and remove the lead pencil. Be careful to try and not go over the lead line with your marker as sometimes you may not be able to rub out the line later as the marker makes the lead line permanent. I try to work as close as I can with the marker to the lead pencil line. Once I have erased the lead line and the brightest yellow is there I go around with my darker yellow (Y13) and chose sections where I want darker areas.
I then take a medium aqua (C13) and highlight the upper right corner, I then I go over it with the lighter aqua (C43) to try and defuse the darker aquas sharpness.
I use a pastel purple colour (V12) to add a oil slick sort of sheen to the left side of the bubble. I go over the purple and each side with a bright pink (M21) then over it again with a light pink (M11) over almost the entire circle of the bubble.
I whip around the bubble with a light blue (C01) first then again with the darker blue (B21). Try keep the circular shape going in the bubble too.
I colour over all of the bubbles with the lightest blue (C01). This helps to bring all the colours together.
I use my colourless marker (00) and colour over and outside all of the bubbles. I thought they were a little too bright for what I was looking for so the colourless marker fades those colours out a little bit.
I go around the front most bubble with a silver marker including the antlers which were already outlined in black. I also used a white gel pen to create highlights in the bubbles.
I hope you guys have enjoyed part 2!
Colours used: 00, C43, Y13, Y11, V12, M21, M11, P31, B21, C01, C13


No comments:
Post a Comment