 |
| My Mexpy Marker Fairy |
Today I had the privilege of working with Mexpy Markers, which are not only fun to use and lovely colours, but they are permanent and non-toxic, perfect for designers, artists, students and crafters alike.
Being a mixed-media artist I love art supplies, but I was fairly unfamiliar with alcohol based markers. I know some of you may be in the same boat so I wanted to start with a simple project that is both fun and guarantees a gorgeous end product. You can create a "Mexpy Marker Fairy" of your own by following these simple steps, or use the ideas and techniques to create your own original piece.
You don't need to be able to draw to create fabulous pieces of art with these markers.
Here's what you'll need:
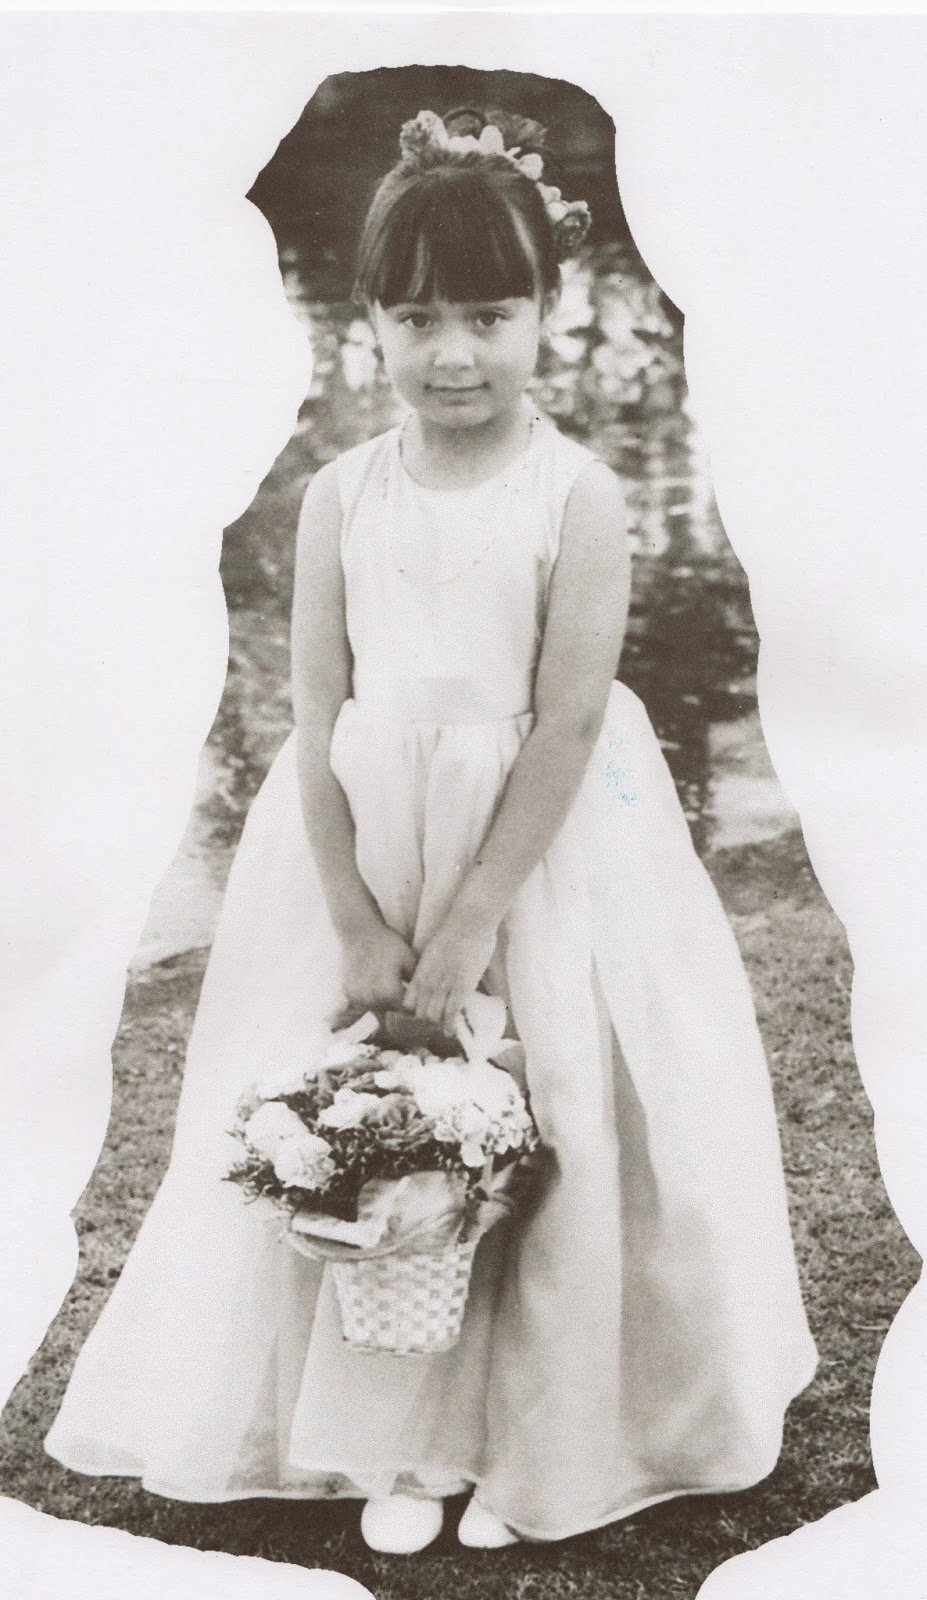
- A photograph/photocopy of a little person you wish to turn in to a fairy (mine is of my daughter)
- A photograph or photocopy of wings such as butterfly wings (optional - you can draw these free hand if you prefer)
- Access to photocopier and printer
- CANSON TRACING PAPER (if you wish to trace your wings)
- CANSON BLEEDPROOF PAPER, CANSON ILLUSTRATION PAPER or other paper suitable for blending alcohol markers.
- MEXPY Alcohol Markers (I used colours from the "Design Marker 24 Basic Colours" and "Brush Marker 24 Pastel Colours" Boxes)
- Fine Black Marker that will not smudge with the alcohol markers (I used Pigma Micron05)
- Fine white pen for hi-lights ( I used Uni-ball Signo)
- Piece of scrap book paper for background (optional, you may wish to create your own background)
- Glue stick (to glue your background to the card)
- Double sided tape (for mounting your fairy onto your background). 0r you could use glue
- CANSON COLOURED CARD, for mounting.
- Ready made frame if you wish to frame your piece.
- Other craft decorations (optional)
Here's how to do it:
- Choose your photograph and scan and upload it to your computer (if its not already on there). Alternatively you could photocopy your photo in black and white, enlarging it to the size you want.
 |
| my daughter |
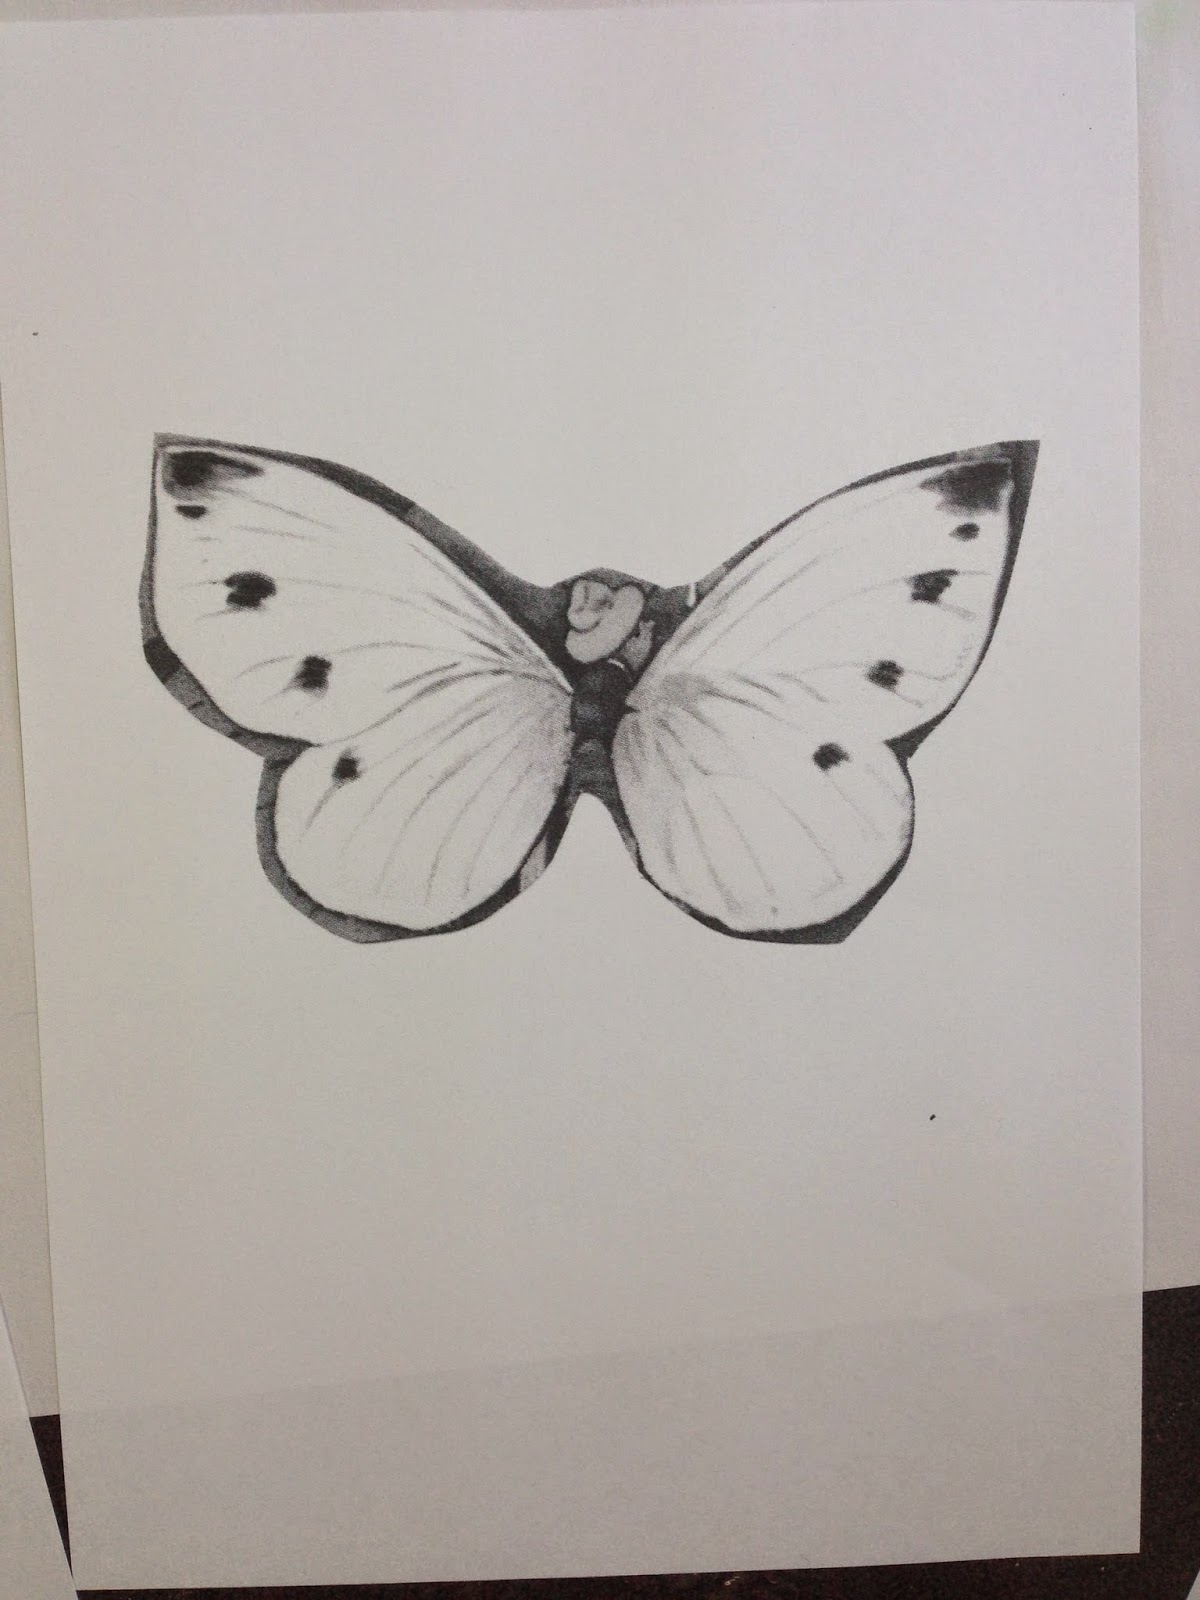 |
| print out butterfly wings |
- You will need to cut right around the edge of your subject
- If you are not drawing your wings free hand, source your wings (try google images), print these up in the desired size and cut around the edge.
- If you desire, use CANSON TRACING PAPER to trace the shape of the wings and customise them with your own design.
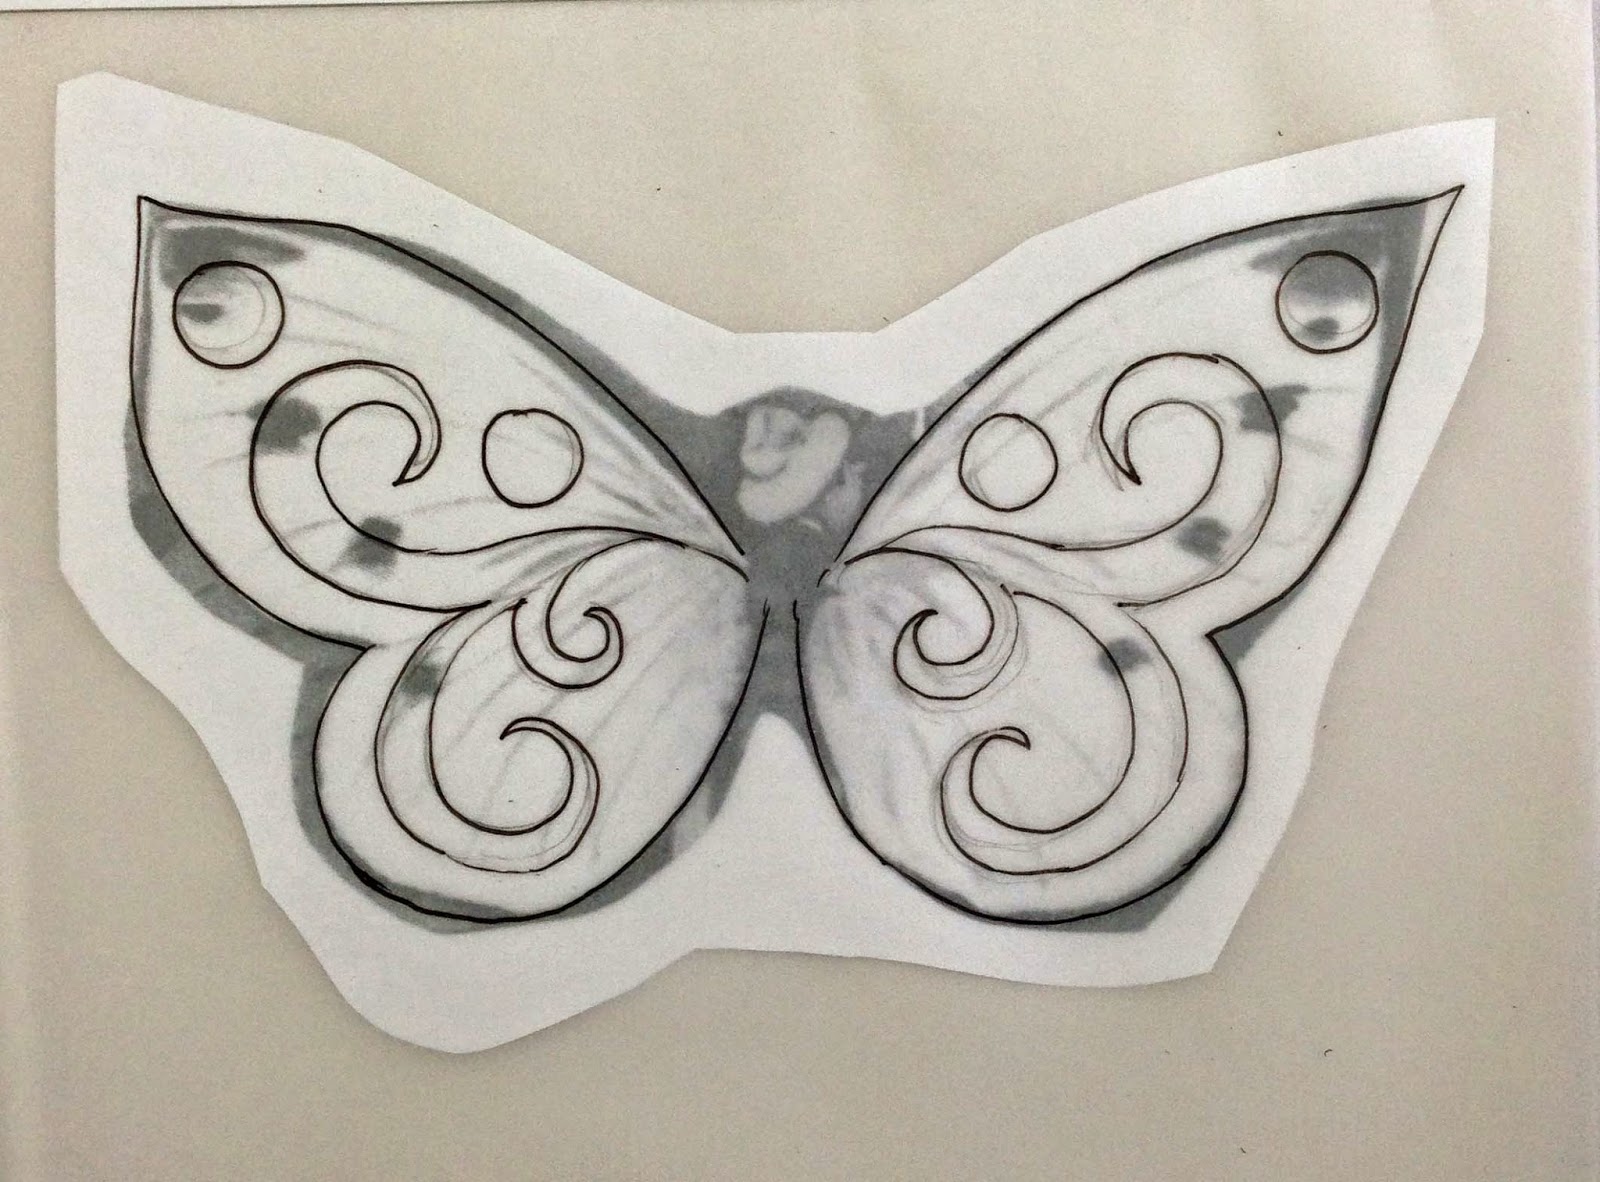 |
| Trace your wings and add detail if desired |
- Tape your wings onto your subject in the desired position and photocopy. (It may be helpful to place piece of plain white copy paper behind your fairy if the wings are of tracing paper)
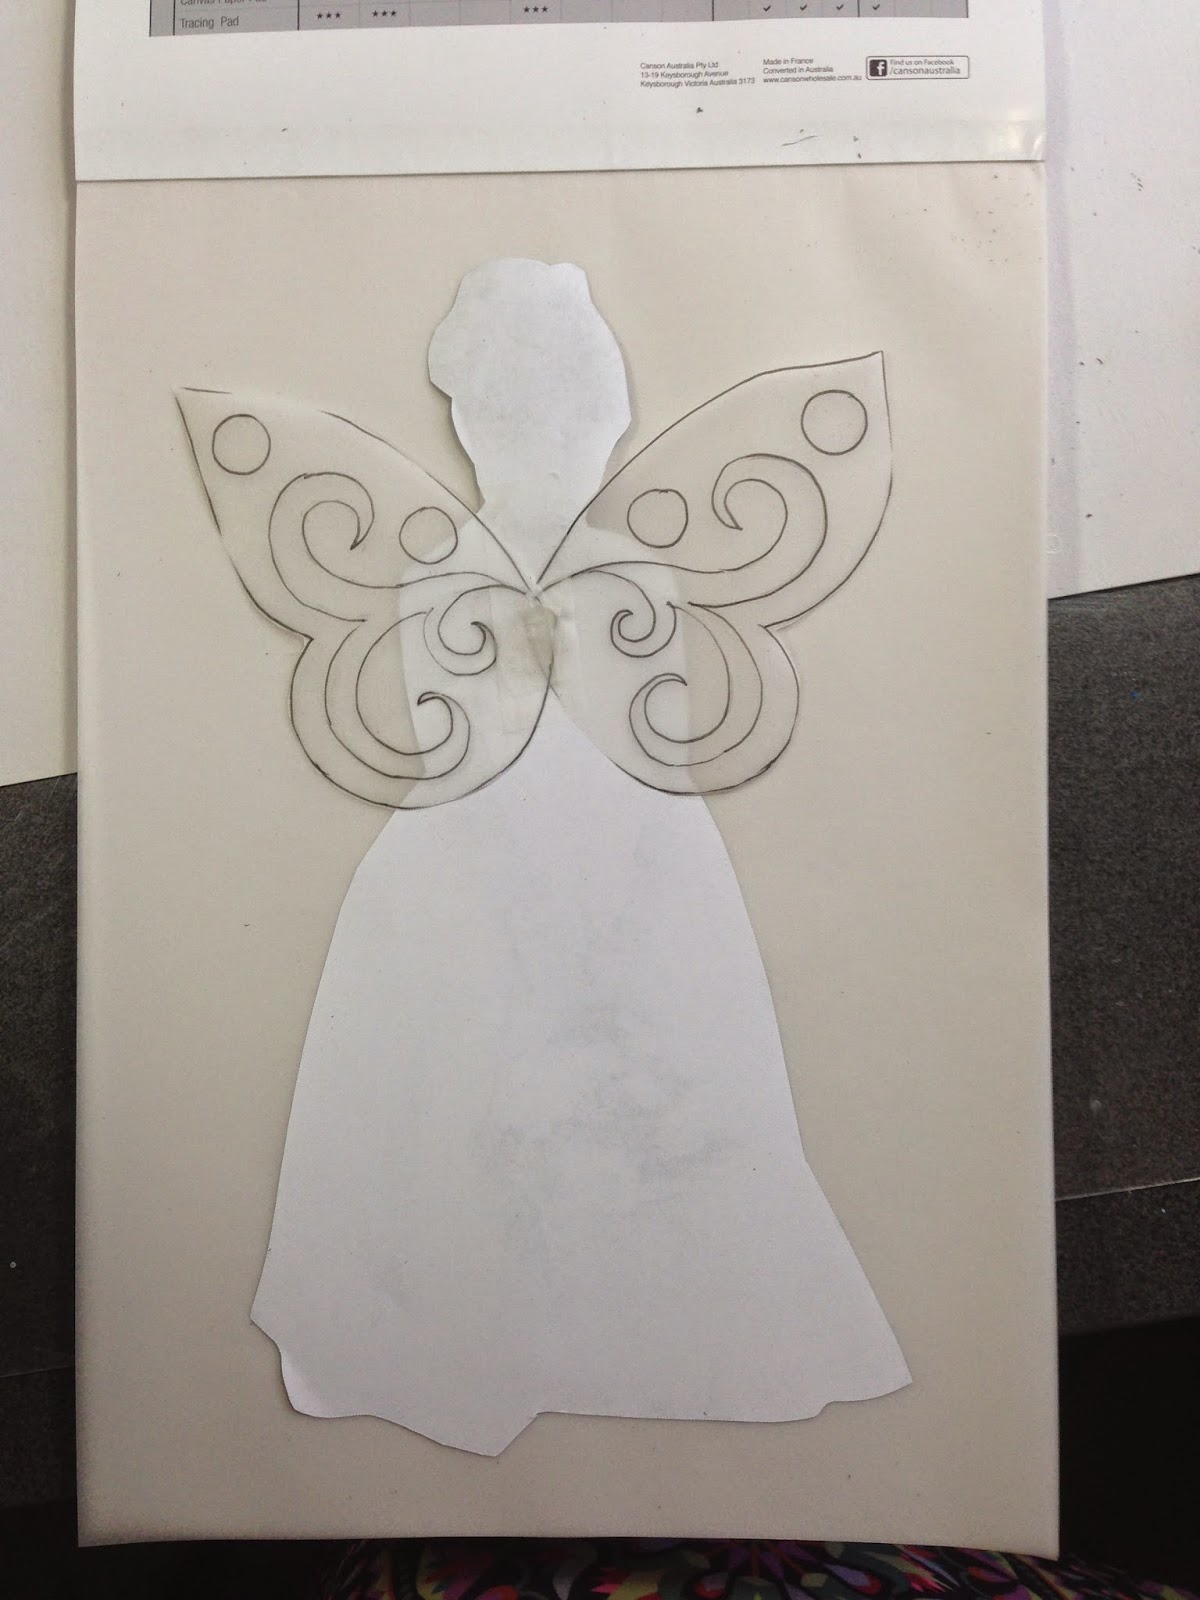 |
| Attach your wings to your girl |
- Make sure you have loaded your photocopier with sheets from your CANSON BLEEDPROOF PAPER and CANSON ILLUSTRATION PAPER pads or other suitable paper .
- Print a few copies, its always good to have a couple in different papers for practice and experimentation, especially if you are new to MEXPY MARKERS.
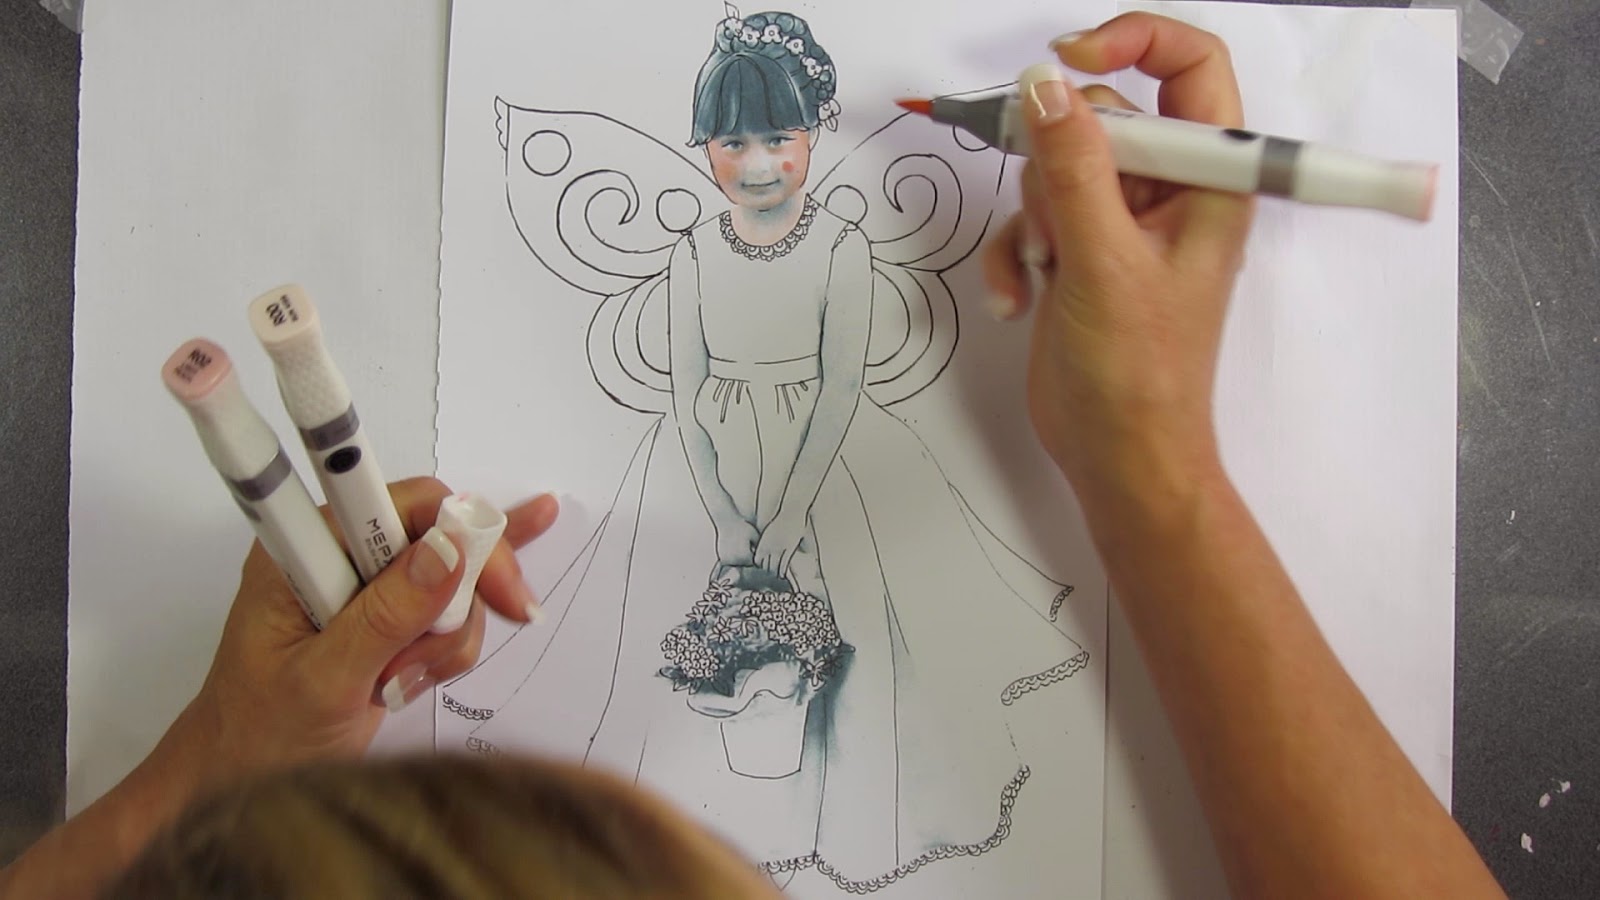
- Once you have your fairy complete, you can always add outlines and extra details with your fine black marker (make sure you test any black marker you are using for compatibility with both the Mexpy Markers and the Mexpy Colourless Blender - you don't want it to smudge)
 |
| Add any extra outlines and details |
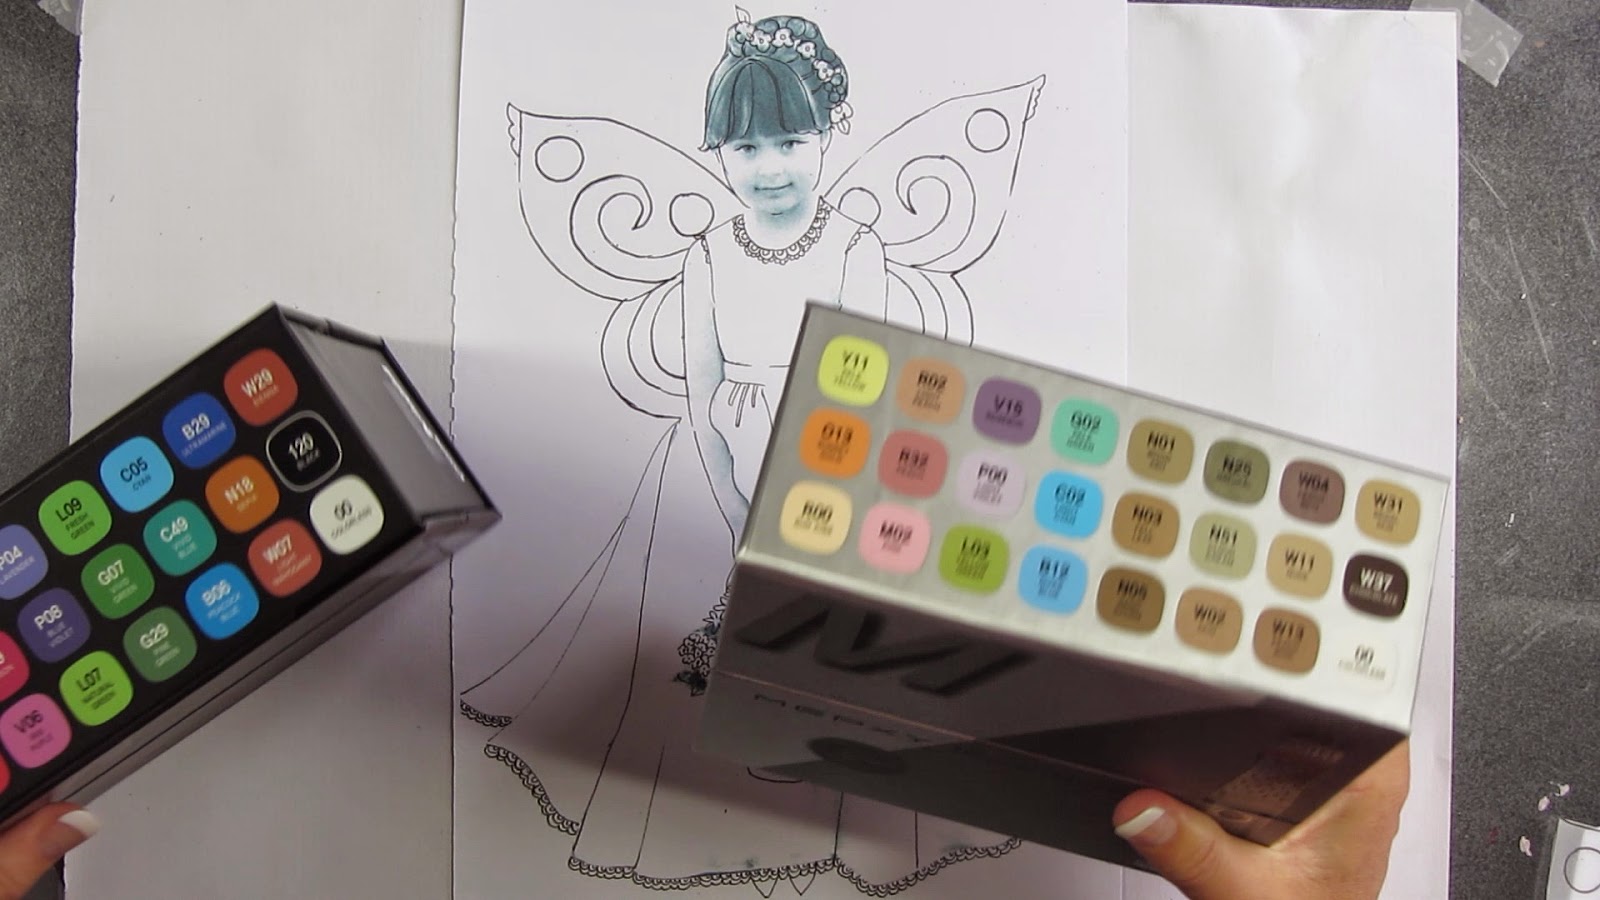
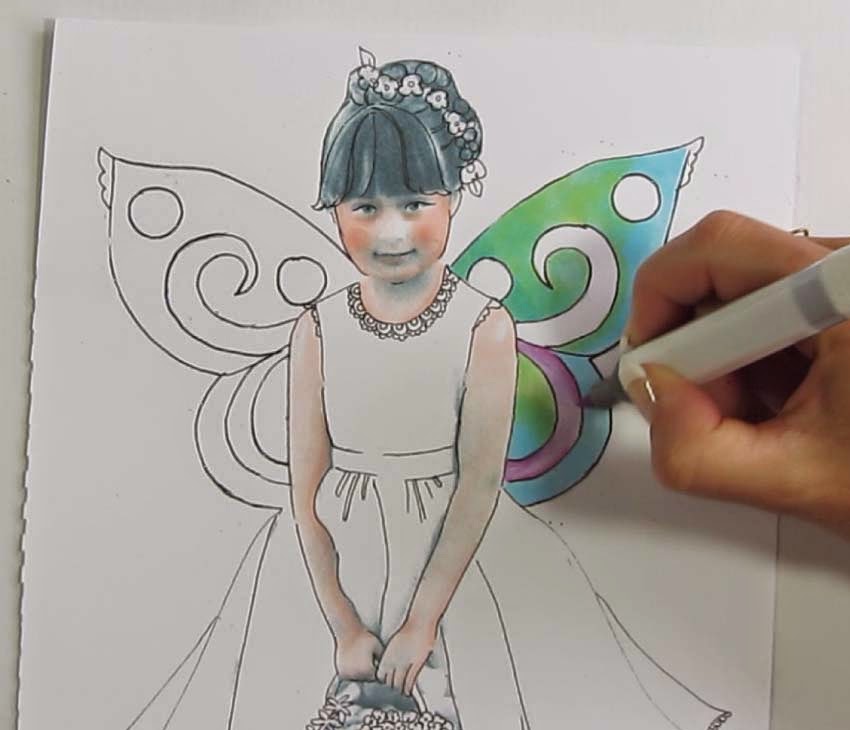
Now we are ready for the fun part, colouring with your MEXPY MARKERS
The beauty of the MEXPY markers is the way the colours blend together in away you just can't achieve with regular run-of-the-mill markers. MEXPY markers are a fabulous investment but you may only be able to afford one or two sets at a time, so if that's the case simply work with whatever you have. They are all gorgeous, but I particularly love the BRUSH MARKER range. The brush tip is so soft and flexible, it's very versatile for large or small areas and it just FEELS wonderful to use.
So start by testing out all your colours if you haven't already. As you go take note of colours that are similar in hue (the colour they are e.g. blue, green etc) and value (how light or dark the colours are). The more similar the colours are the easier it will be to blend them in together.
 |
| Try out all your colours. |
 |
| Group your markers into similar colours and shades (for easier blending) |
 |
Experiment with different colours and designs
|
 |
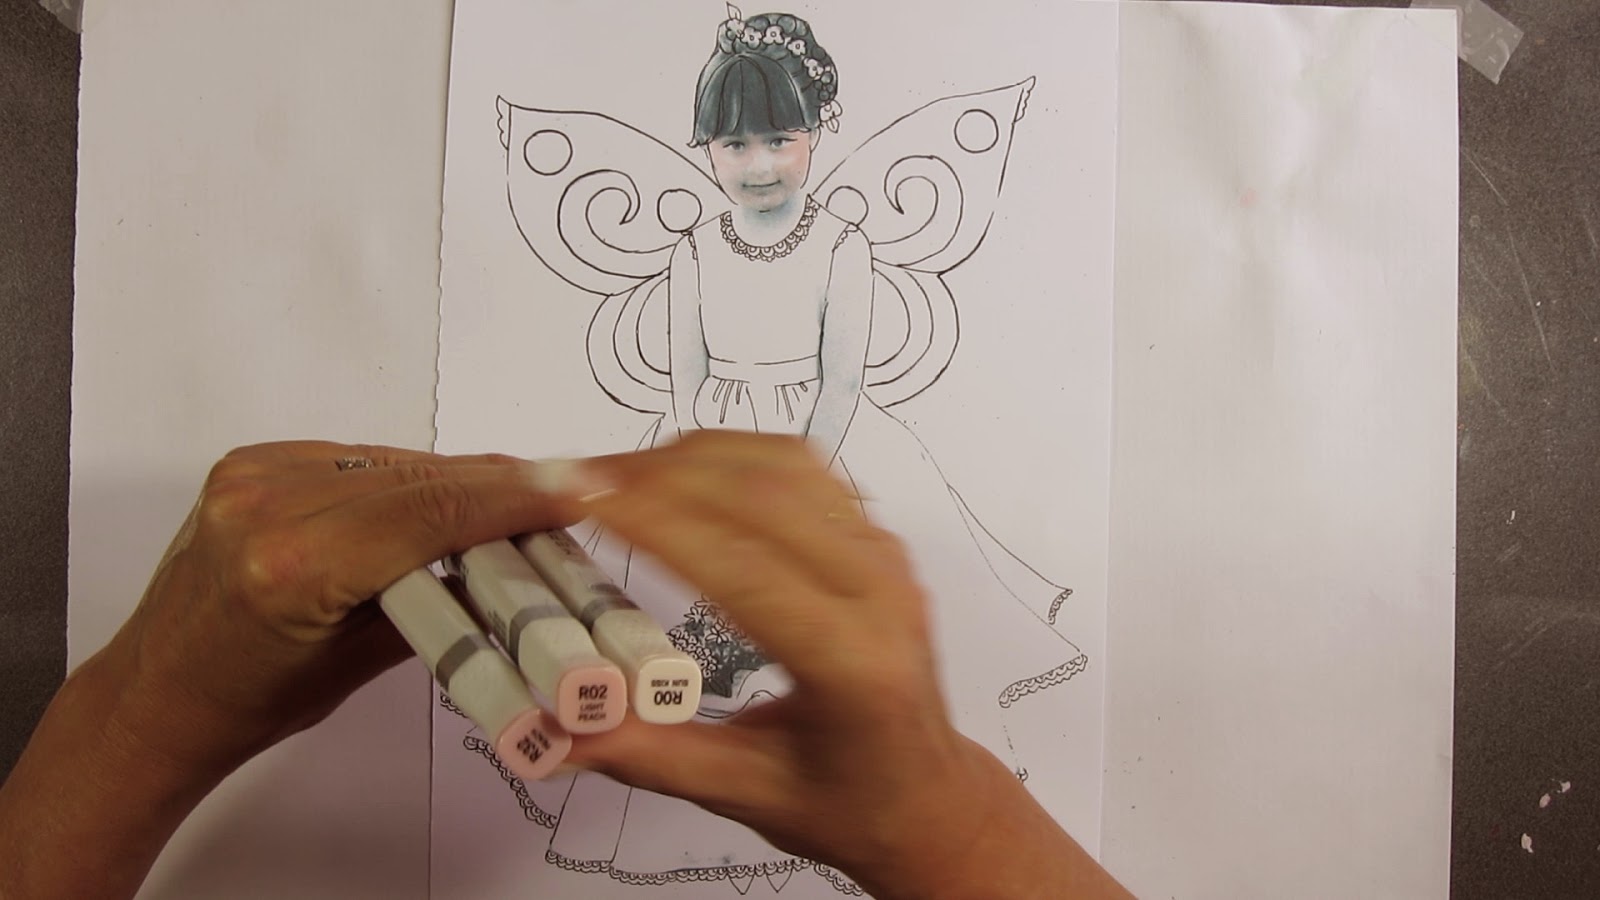
| For the face I used R00, as my lightest colour, R02 as my mid and R32 for my rosy cheeks. Start by using the lightest colour first, then shade with the mid colour, then go over the whole area again to blend. Leave areas that you would like to be hi-lighted white. For the cheeks, draw a circle of the R32 on the ball of the cheek, blend well with the RO2, and then again with the lightest colour. |
 |
| Use the same colours on the arm, shading in areas where it may be darker. |
 |
| For the wings, blend similar colours together by starting with the lightest colour, add the next darkest colour, them go over both colours again with the lightest colour to blend. |
 |
| You don't just have to blend different colours, you can achieve beautiful tones of the same colour! Leave areas white for hi-lights, go over some areas with the same colour to get a darker shadow effect. |
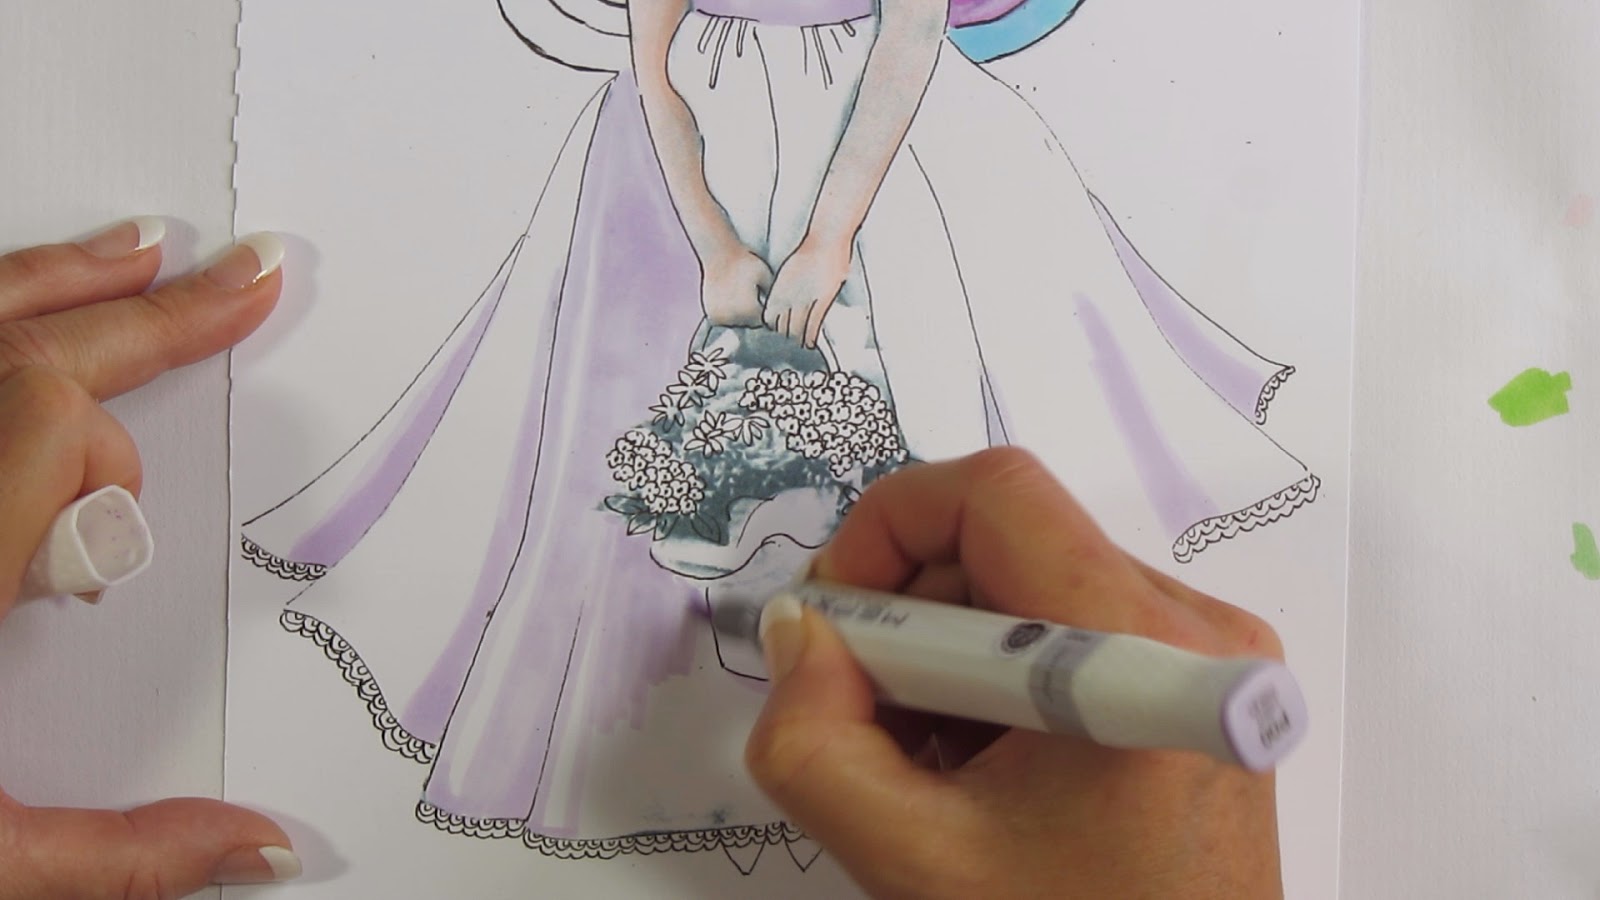 |
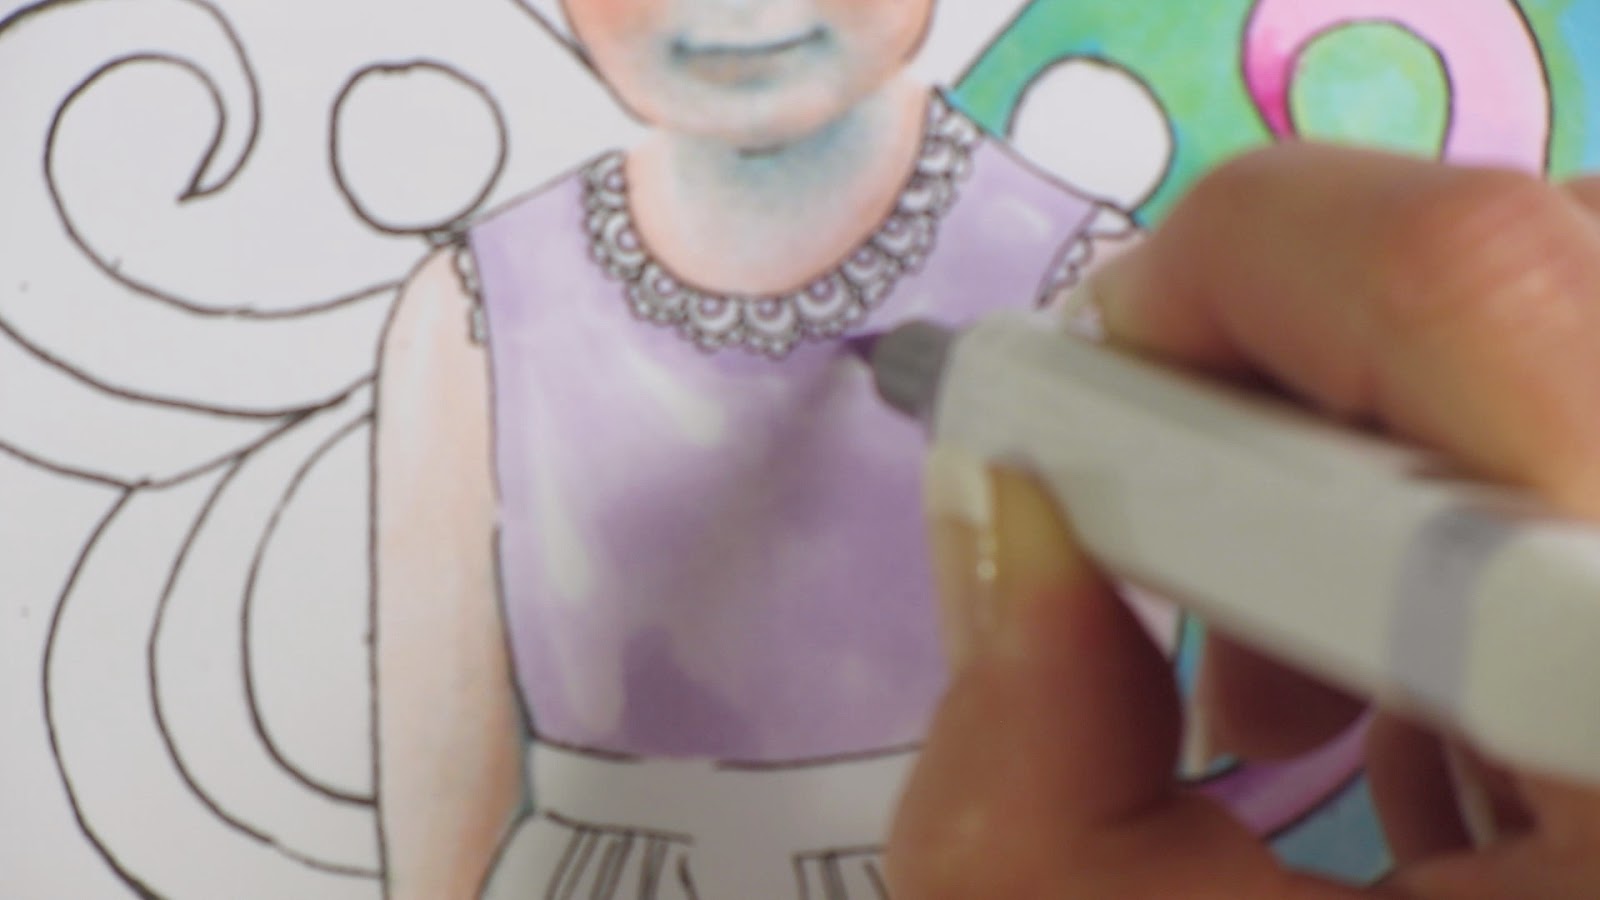
| Remember to mark in your shadows first in the folds of the dress and leave some hi-lighted areas (white) on top of the folds. |
 |
| How to blend and shade the basket: Fill in the entire area with the lightest colour first. |
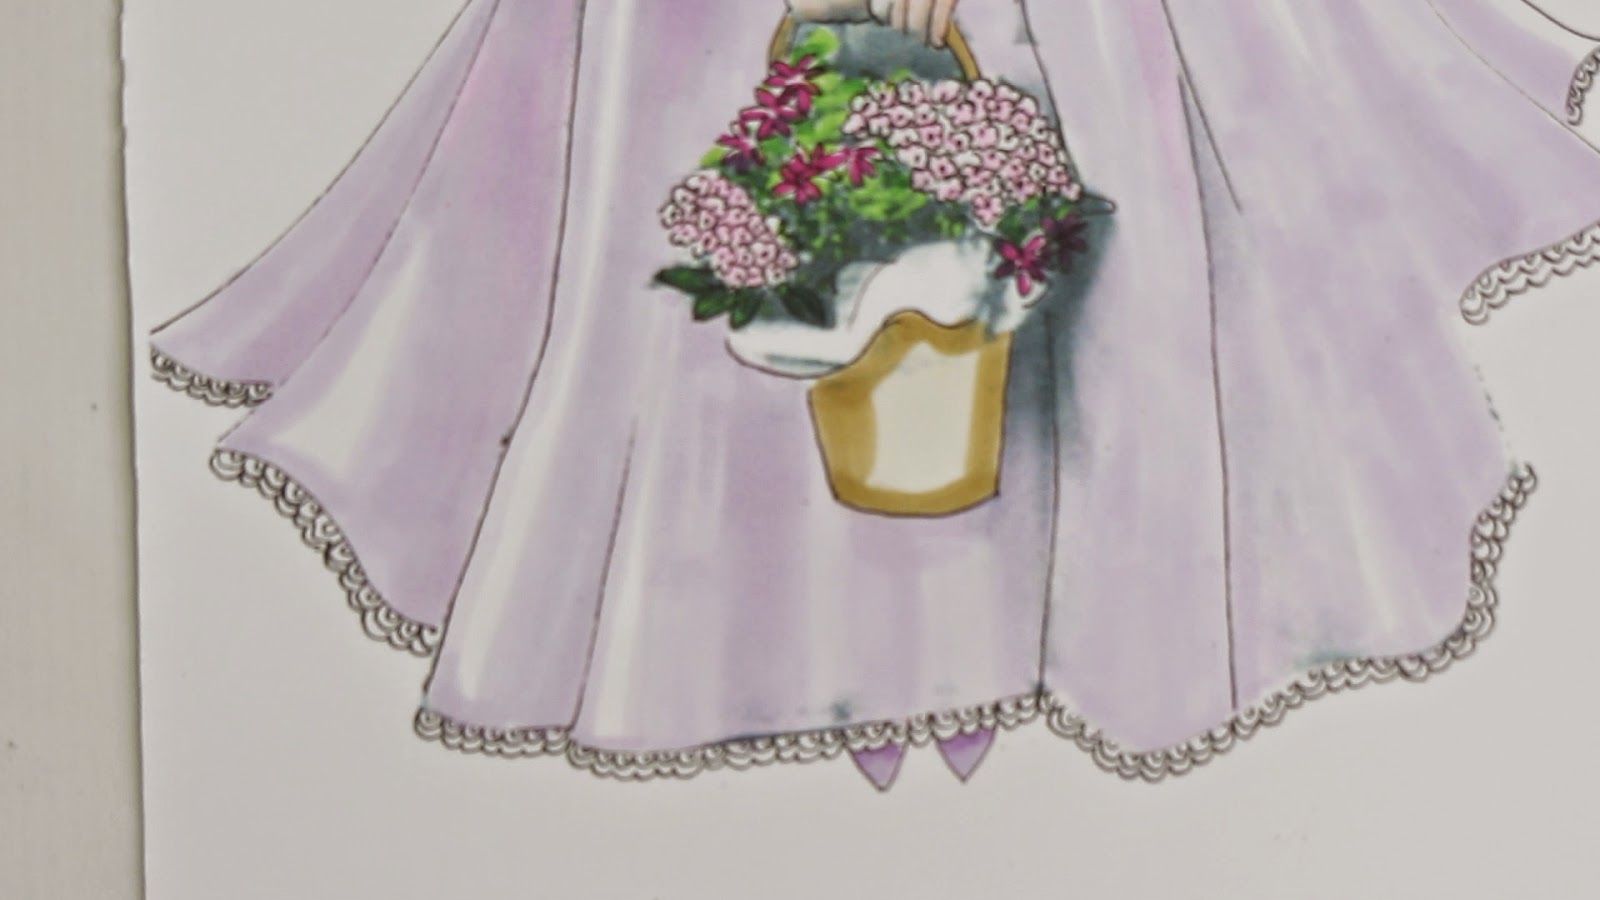 |
| Outline the edges with the middle colour. |
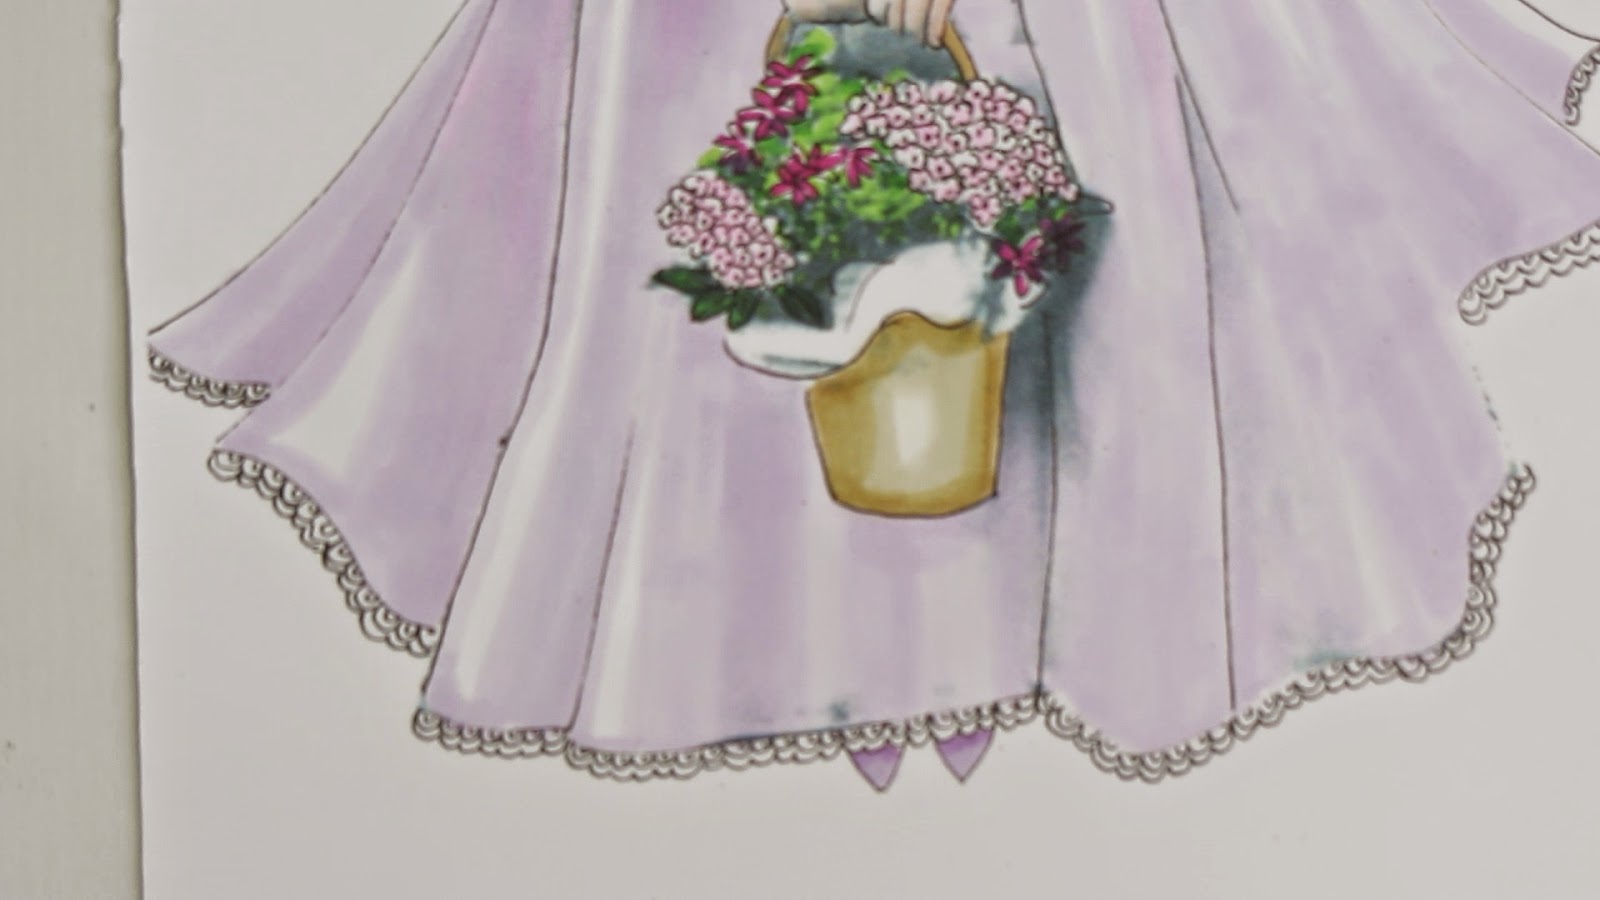 |
| Go over entire area except a small section in the middle (leave as a hi-light) with the first and lightest colour again. (Note how two layers of the first colour are darker than just one). |
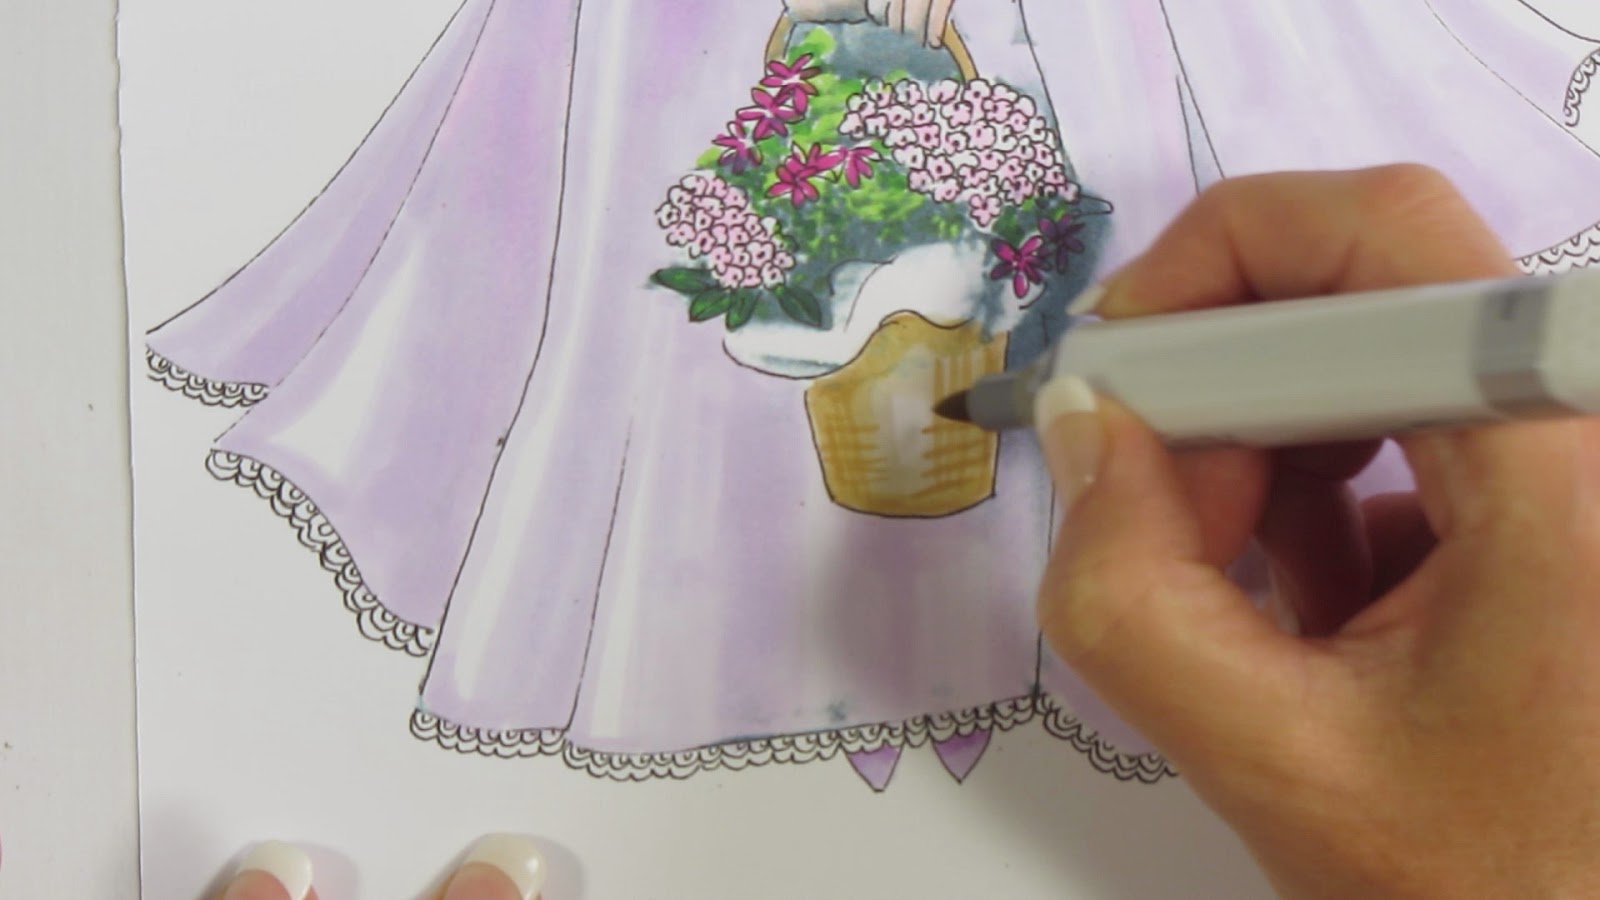 |
You don't have to draw in all of the pattern on the basket for it to look effective. Just take your third and darkest colour and indicate the pattern in a few areas.
|
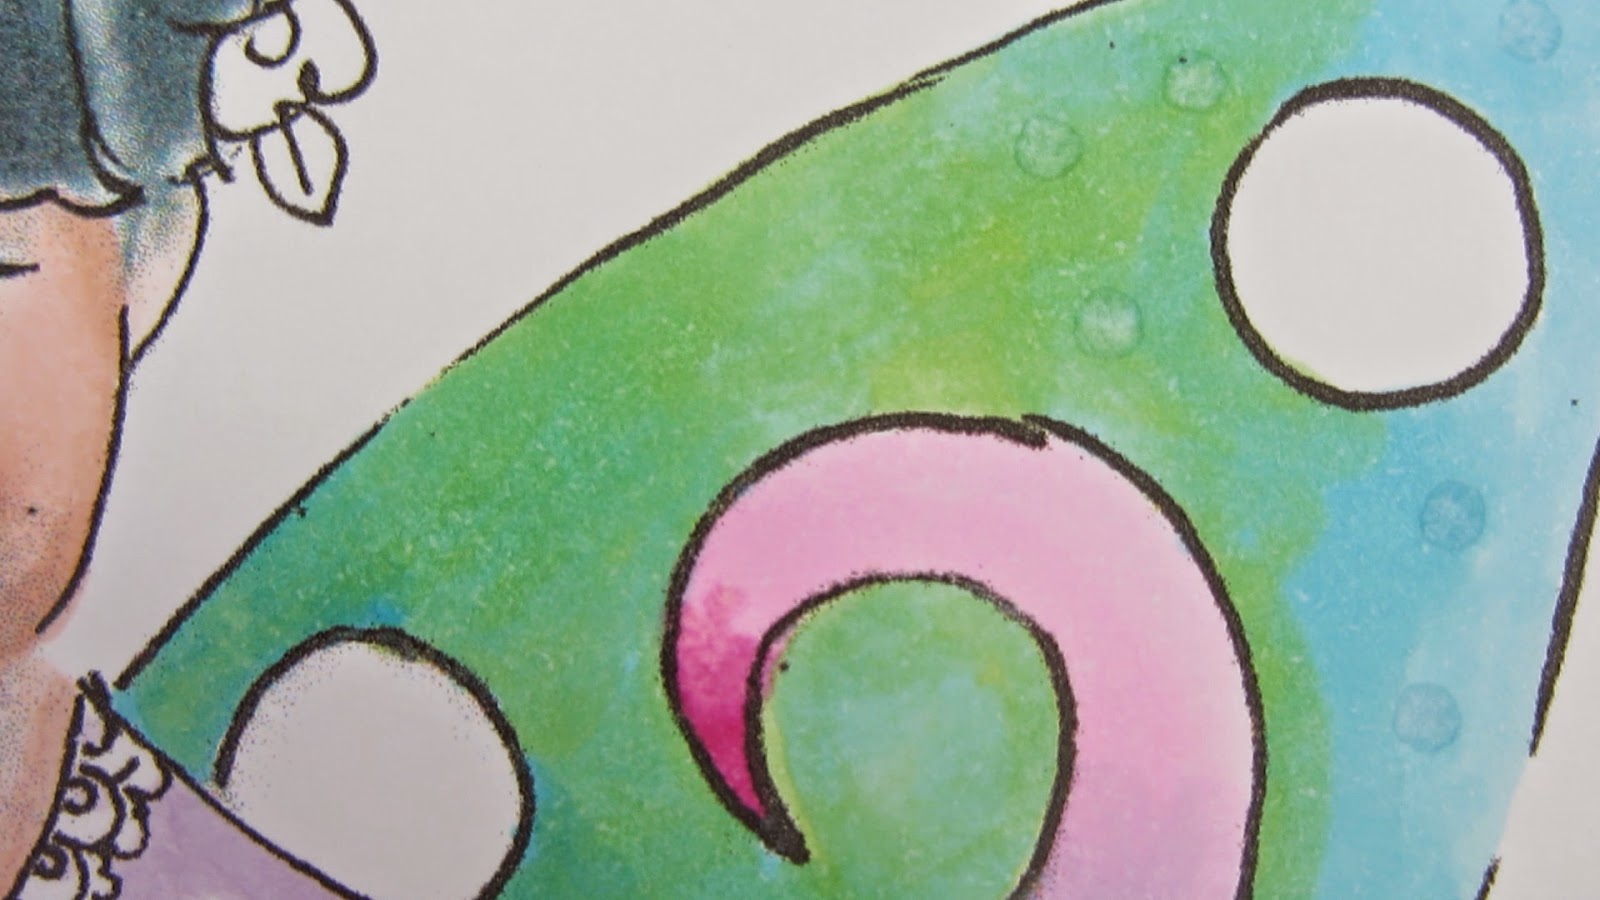 |
| These tiny dots cab be achieved by dabbing on the colourless blender (comes with each set). The blender formula erases or removes the colour. |
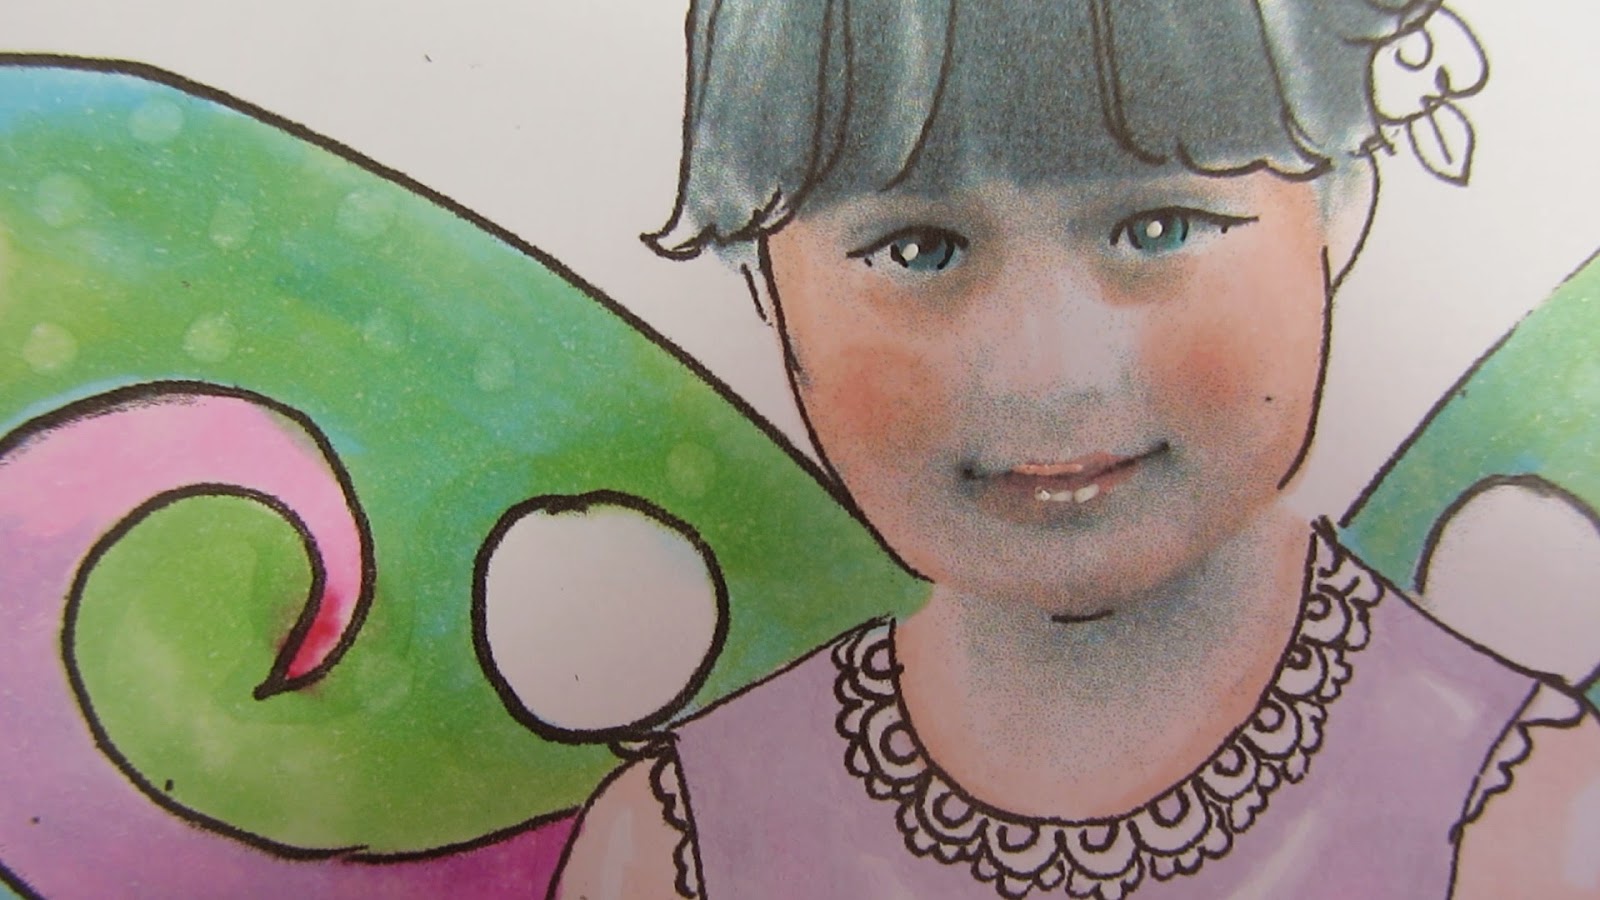 |
For the eye, use your black thin marker to draw in the pupil, and draw an edge around the iris. Use a Mexpy Marker to colour the iris. Use your white gel pen to place a white dot in the pupil to give the eye a sparkle. Use the gel pen again to add a little hi-light to the lip (on the top lip the Mexpy lip colour was placed over the top of the gel pen to give a soft, shiny look).
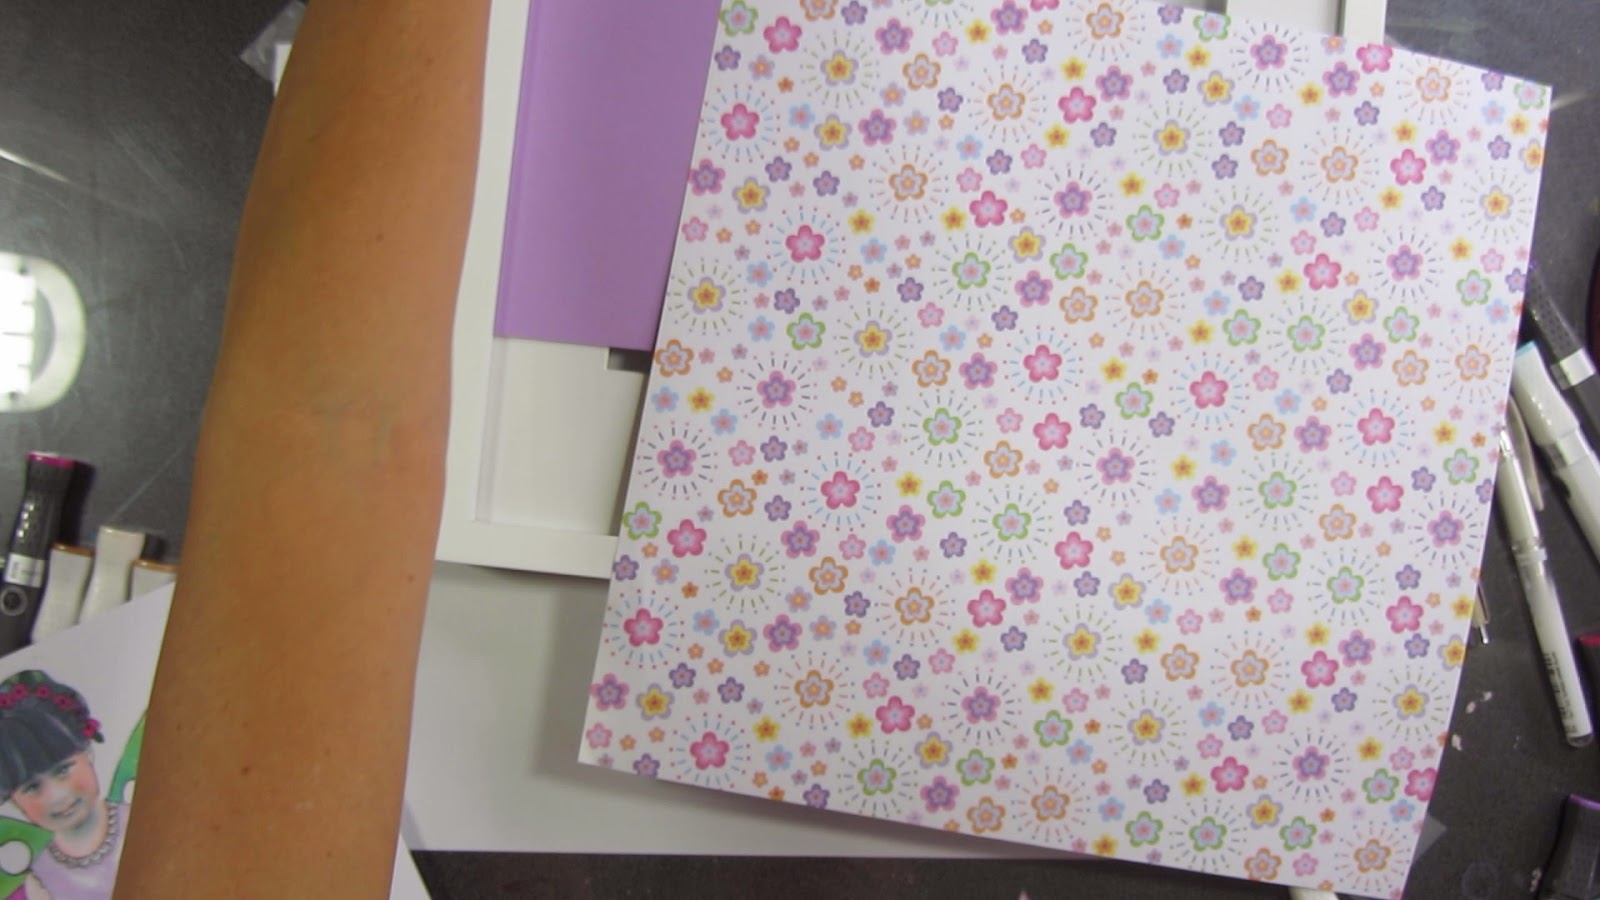 |
| Select papers that will make an attractive background. |
|
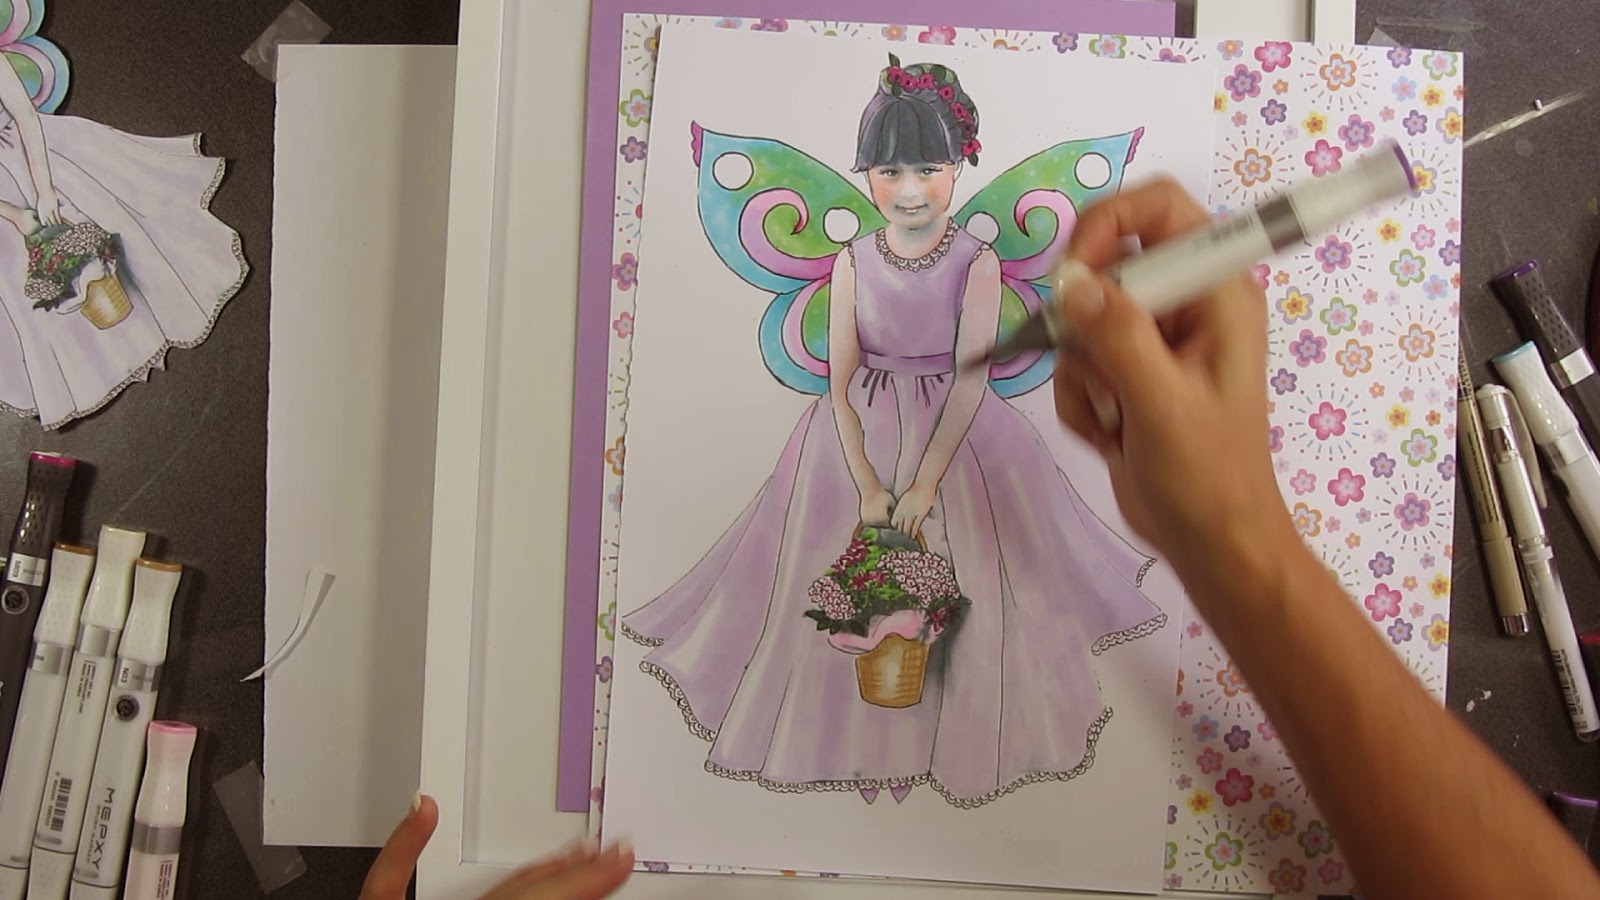 |
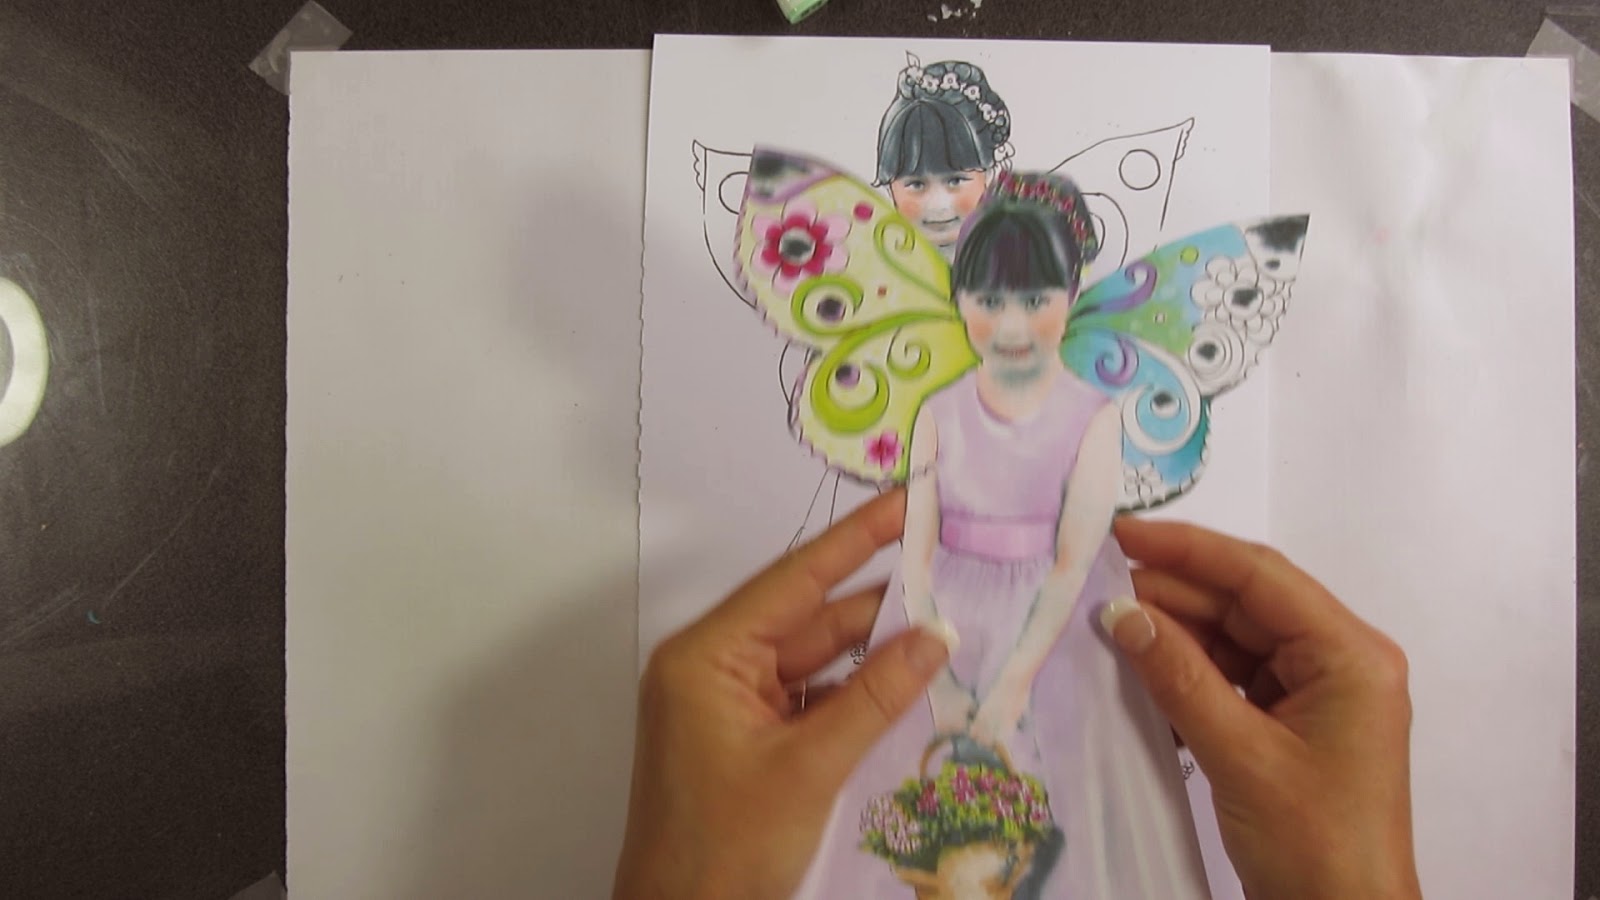
| Re-evaluate your piece. Once I placed my fairy on top I could see that I needed a little extra shading to make my fairy POP. |
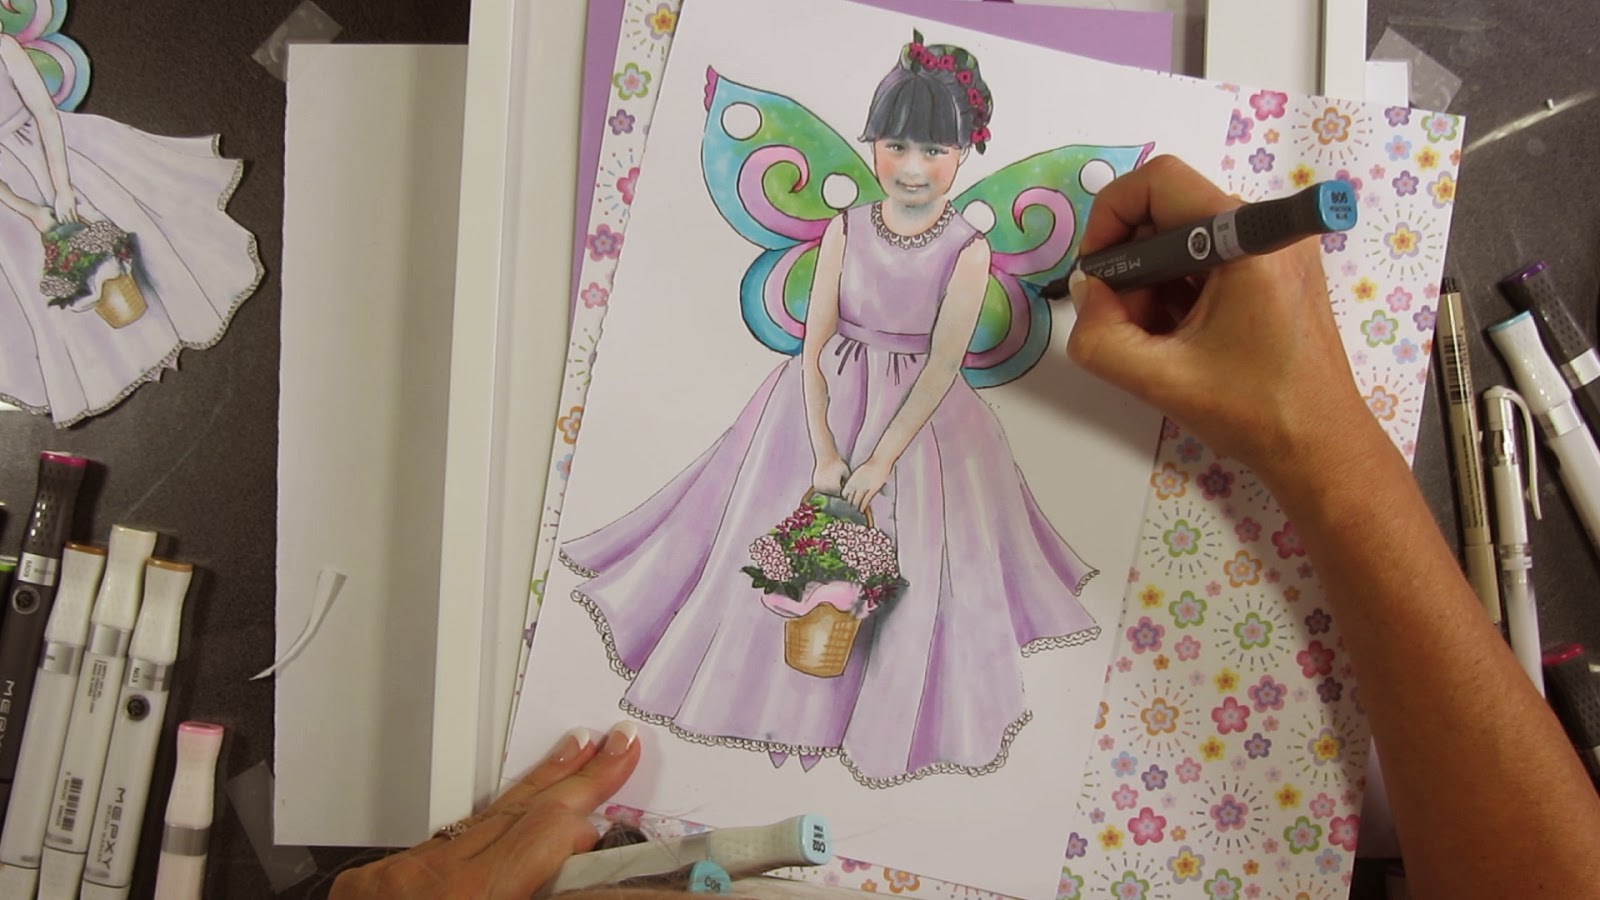 |
| See the extra shaded areas, such as the folds of the dress and edges of the wings. To blend the darker shades in nicely I have gone over both light and darker areas together with the lighter shade to bring them together. |
 |
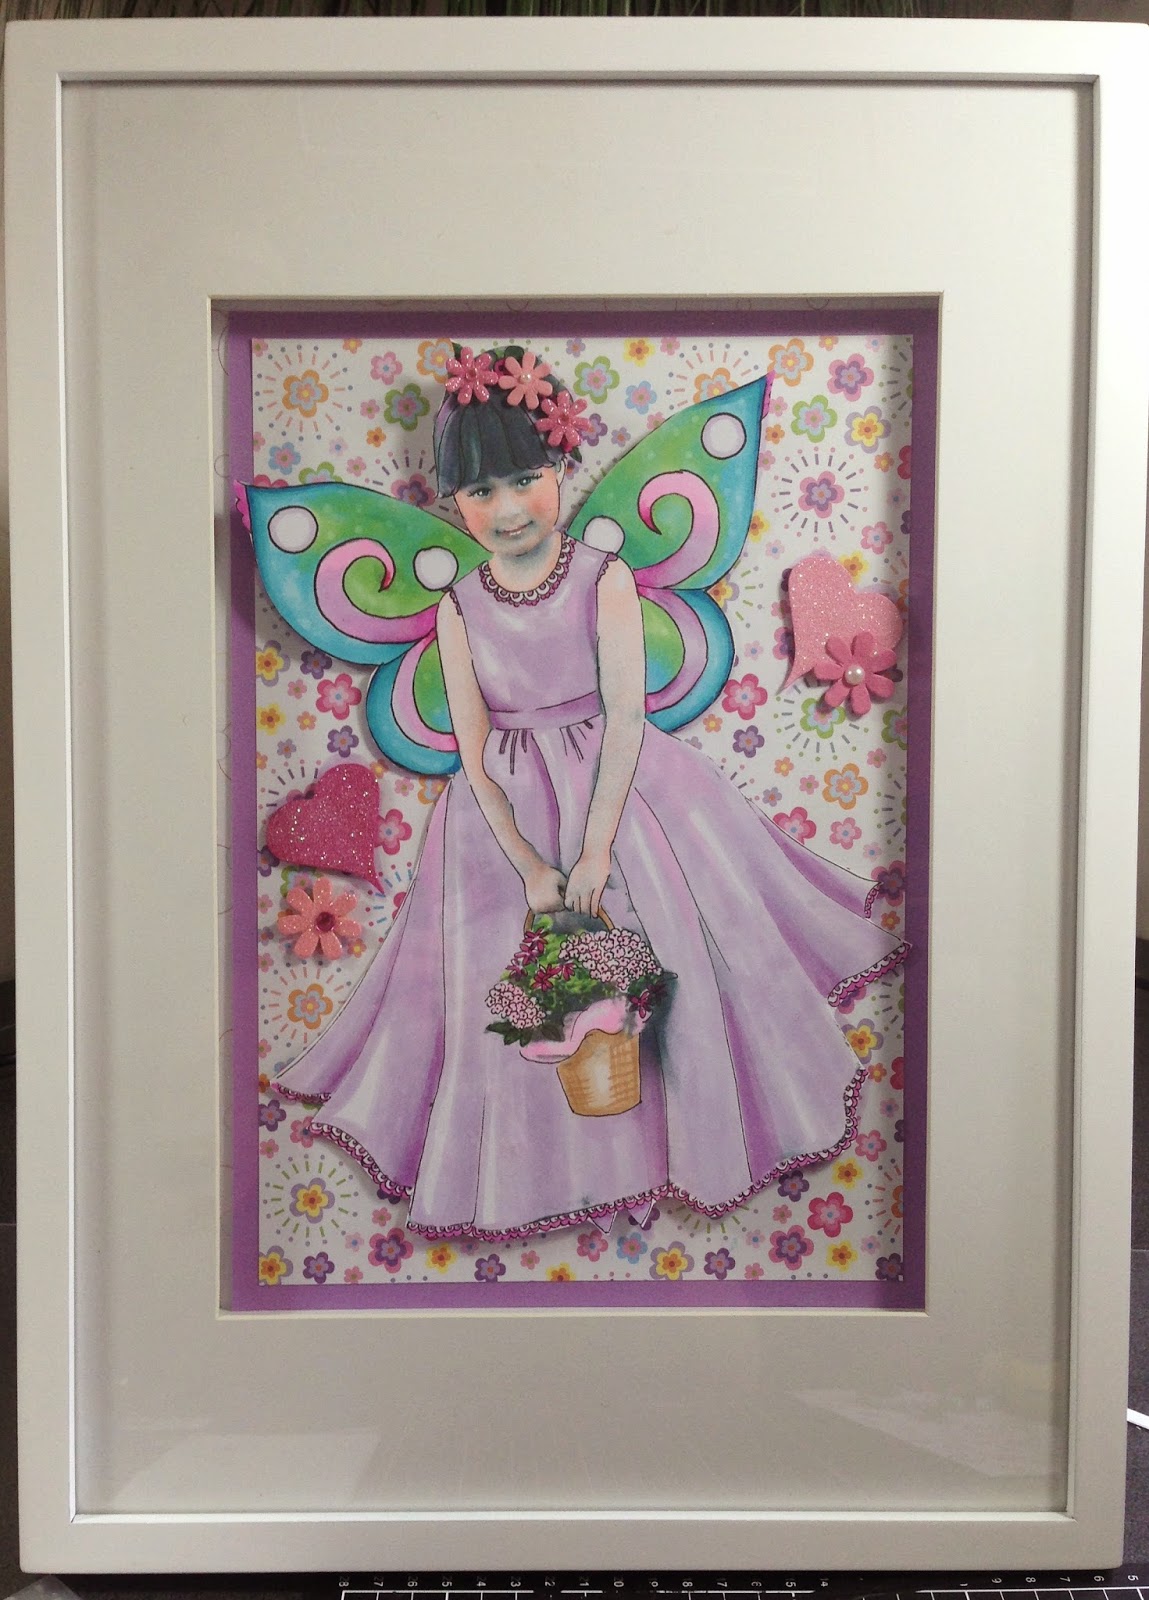
I have used an A4 size piece of CANSON COLOURED CARD as this is the exact right size to fit into my ready-made photo frame. I have cut my scrapbook paper 1.5cm smaller both horizontally and vertically. This gives a nice border of 7.5mm around the edge. I've used a glue stick to glue the pieces together. Once I have cut around the edge of my finished fairy she is ready to be placed on the background.
|
| I have done a very thin outline in a light in a light purple (P00 Light Violet - same colour as dress) directly onto the scrapbook paper to indicate a shadow. This adds depth to your art and makes your fairy look like she is popping out of the page. |
|
 |
| Select a frame if you desire. |
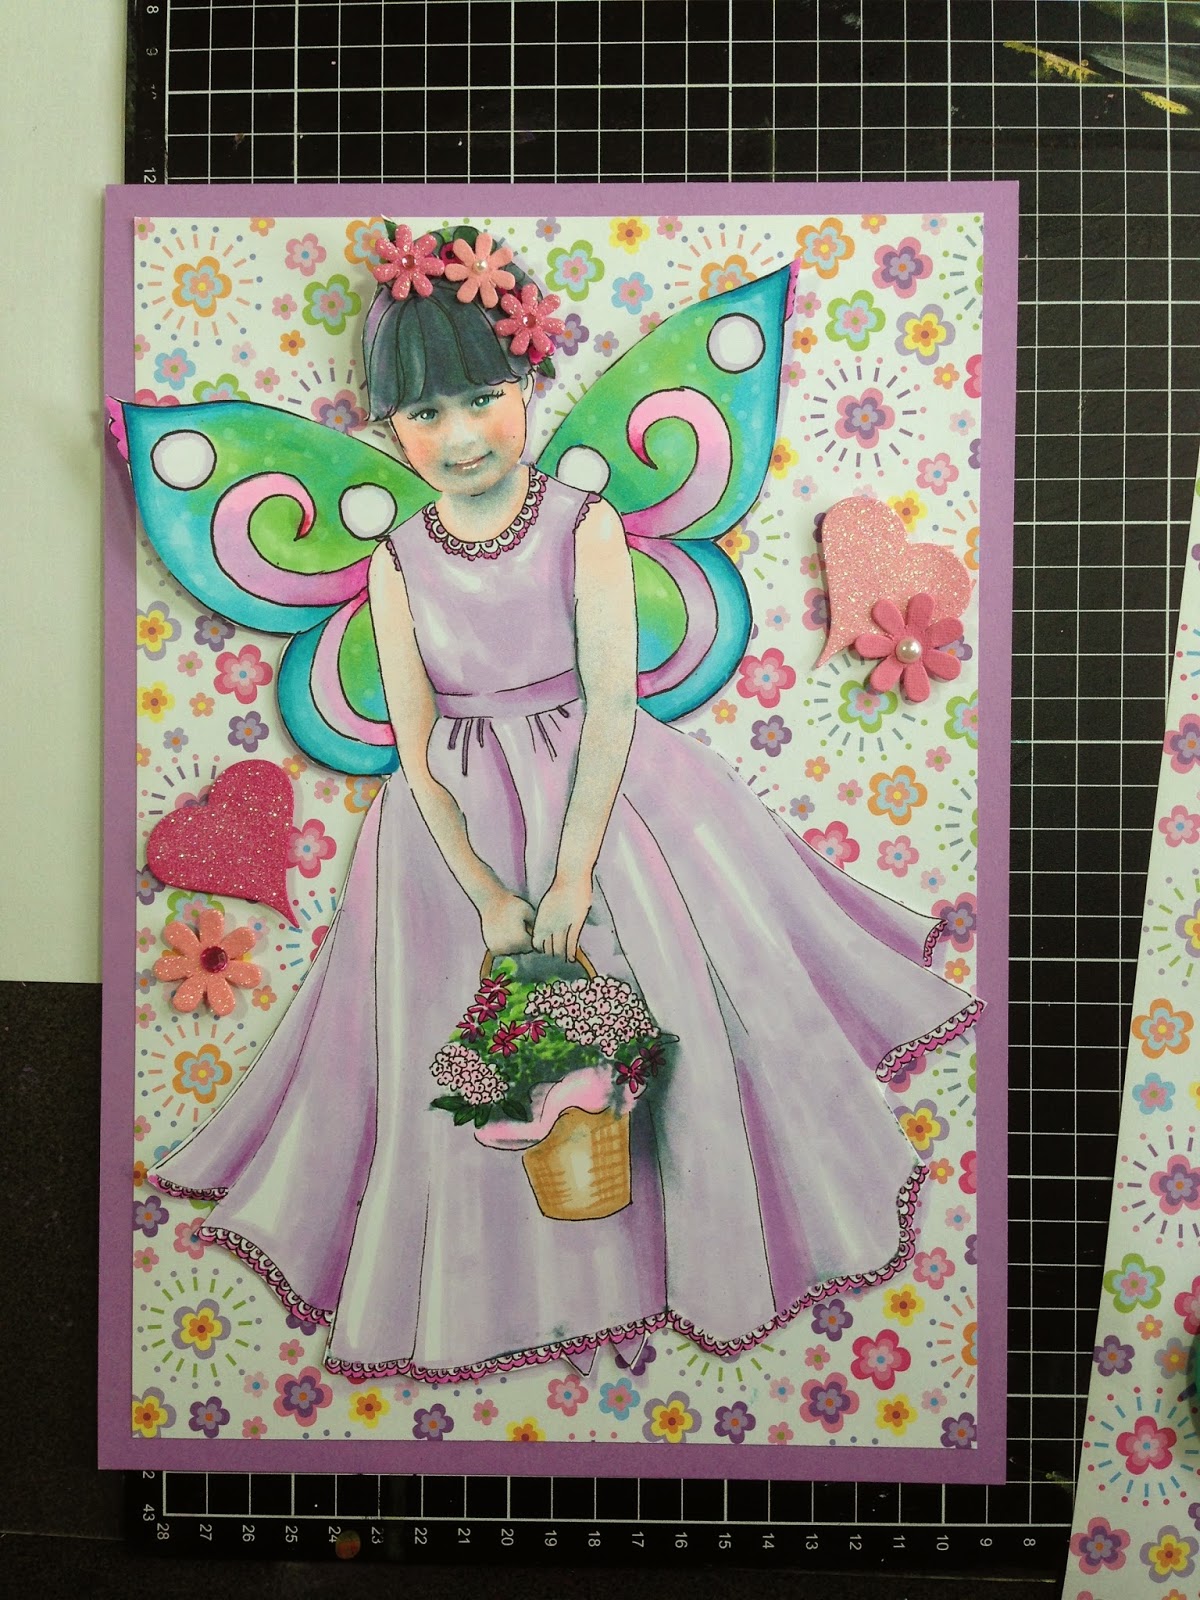 |
| You can add extra craft decorations if you have them and want to do so. |
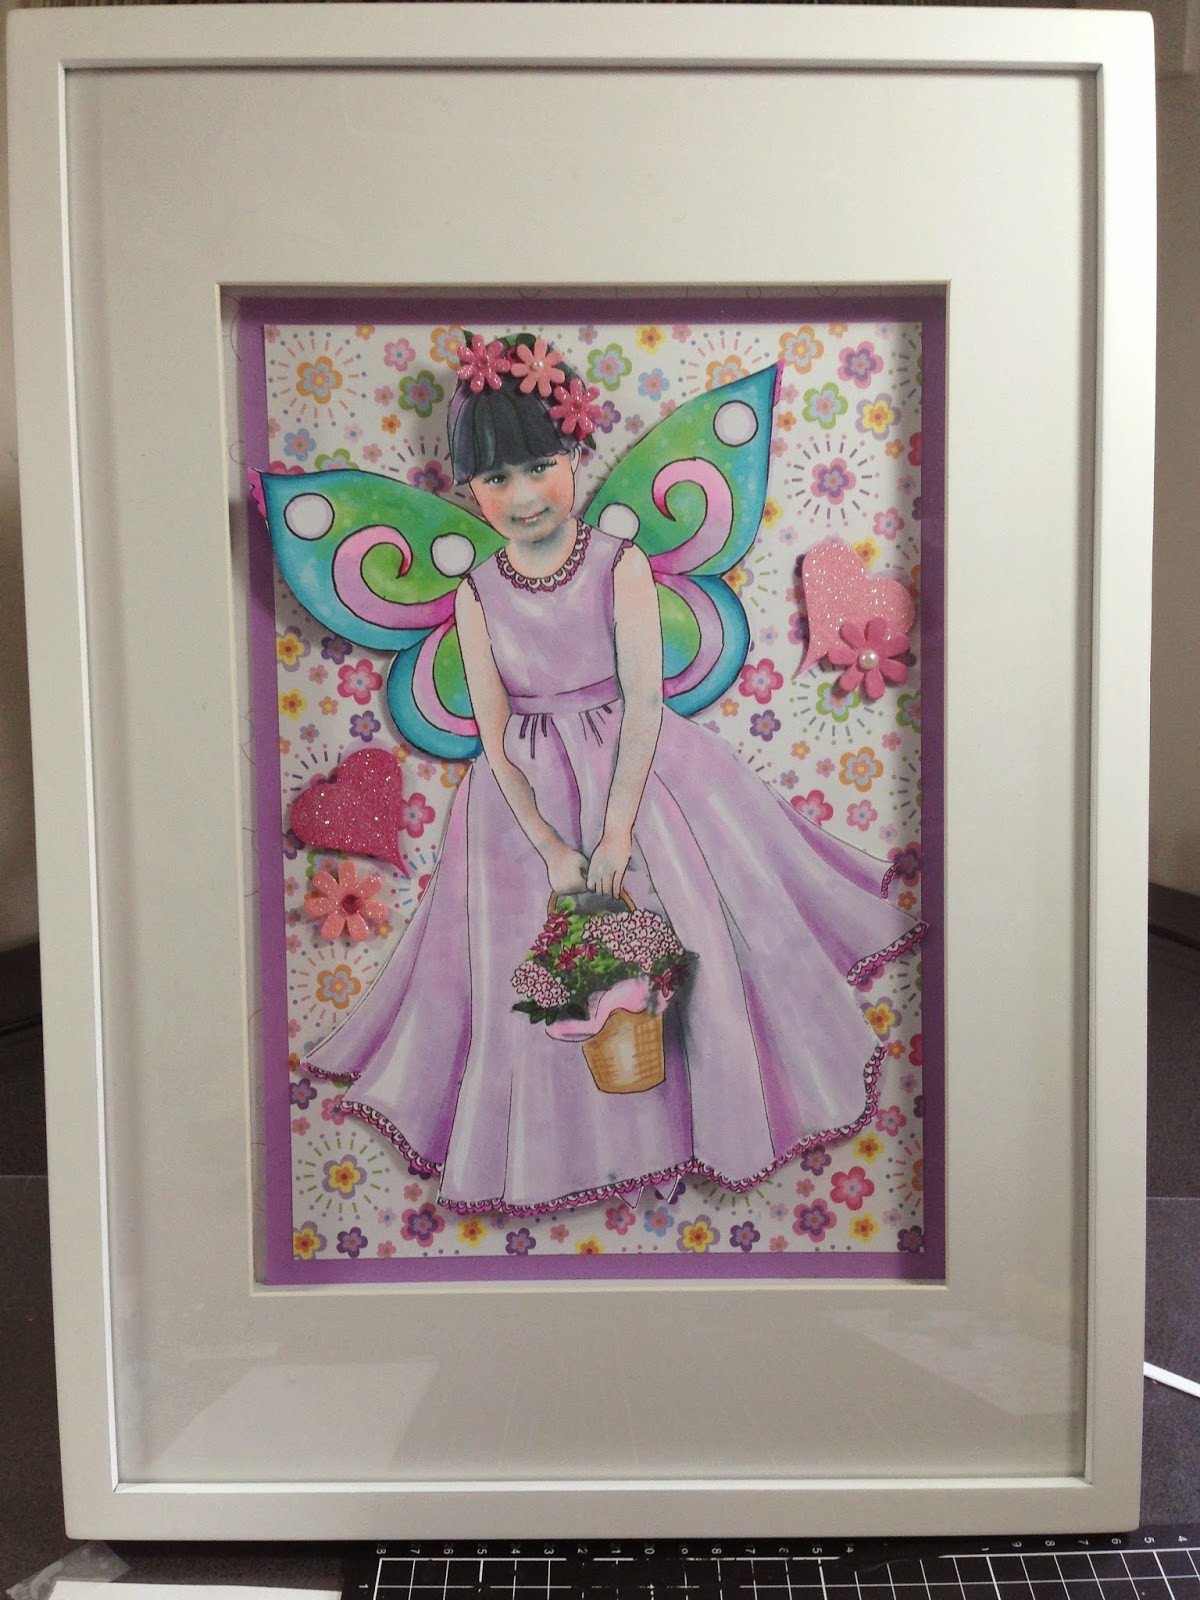 |
| Your finished piece! |


Oh my gosh! What little girl (or big girl for that matter heheh!) wouldn't want to be turned into a fairy!
ReplyDeleteI can see many squeals of delight over these projects. Great idea and tutorial Dee!
Sweet, sweet, sweet!!!
ReplyDelete