
Chick out this Easter Plate
By Natalie Wyatt
Made with "Pebeo Porcelaine 150 Markers"


Hello all you wonderful people!
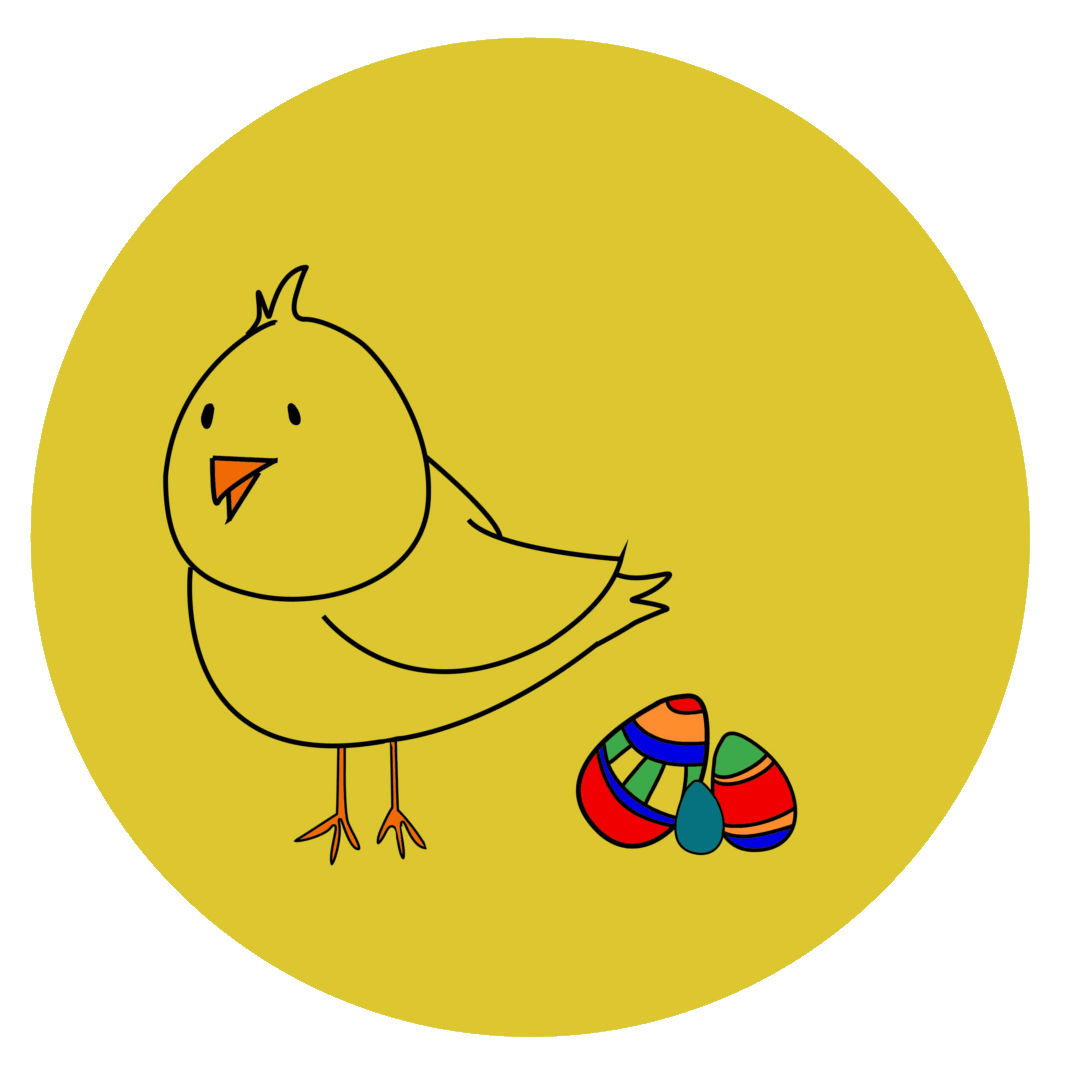
It's getting closer to Easter and things are well under way for the upcoming season. I made this really easy plate for you all to create to decorate your table or liven up any crockery or serving plates.
Have a safe and happy Easter!

What you will need:
- Stencil Print Out
- Jose's Cantina Mexican Side Plates (Yellow)
- Pebeo Porcelaine Markers
- Anthracite Black
- Peacock Blue
- Agate Orange
- Peridot Green
- Marseille Yellow
- Scarlet Red
- Lapis Blue
- Scissors and Tape
- 4B Pencil.
- Pen
- Tissues

Print out your stencil, it should be 21cm wide, you can set up these parameters in a word document. Just paste in the above image, change the "Wrap Text" to "In Front of Text" and then change the width to 21cm.

Start by cutting the stencil into two pieces: the chicken and the egg.
Make sure you leave some overhang on your pieces so you can stick them down.

At this point you can ponder philosophical questions like which came first, the chicken or the egg?

Flip your images over.

Using your sharp pencil, shade heavily on the back of the images.

You'll want to shade as dark as possible without ripping through the paper.

Make sure you have washed your plate in hot soppy water to remove oils from the plate otherwise your outline won't stick to the plate.

Position your images however you'd like and stick them down with tape.

Now, using your pen, trace the lines of your image. Once again, do it with enough pressure as to not rip the paper because you will scratch the plate.

Repeat the tracing on the eggs.

Once outlined, you can peel the stencil off your plate.
Sometimes I'll lift up one corner to make sure I haven't missed any sections of the drawing in my tracing.

Some areas may appear stronger than others.

If that is the case you can take your pencil and draw back in the light lines.

'Chick' it out!

These are the example of markers that I used for my tutorial, however you can use any other variations of colour that you already possess or are available.
This is an example of the colour scheme that I used.

To start using the markers you will need to shake them well and then press the tip repeatedly against a scrap piece of paper until the nib fills with paint.

Outline the plate with the Anthracite Black.
You may find that the paint starts to fade after a while during the drawing process, however you can simply press the nib again a couple of times to flood it with paint.
The faster you draw the line, the thinner it will be.

Now, using your Agate orange, draw in the legs.

Make sure you have allowed the paint to dry before proceeding otherwise you will lift up the paint you've already put down.

Repeat with the beak.

Take the Scarlet Red marker and begin filling in the Easter Egg.

Continue.

Lapis Blue.

Peridot Green.

Agate Orange.

Peacock Blue.

Marseille Yellow.
Allow 24 hours to dry and then bake in a normal oven on 150 degrees for 35 minutes. Once it has been baked, turn off the oven, leaving the plates inside and allow to cool gradually before removing.
You are now ready to use your creation.
Please send us your work or anything that you create! Thanks for watching!

Natalie Wyatt

Natalie's Facebook Page: https://www.facebook.com/nataliebethart?pnref=lhc


