Showing posts with label fabric paint. Show all posts

Saturday, 19 December 2015

How to Tie Dye with Pebeo's Acrylic paint

Why Pay for expensive fabric dyes when you can use acrylic paint to change up items of your clothing that are looking a bit faded or have a stain or discoloured. You can mix any colour you can dream up, and apply it any way you want to.  I haven't done Tie Dye since I was in school so I wanted to have another play with it.
Here is a rejuvenated Tshirt that was long and narrow that we will use as a nightie. This was a lot of fun, and now I am looking through our drawers for more items we can play with.


  Check out How to Tie Dye With Pebeo's Acrylic Paint and Stencils. by Siann Watts on Snapguide.

Monday, 9 November 2015

Decorative bandaids with fabric paint

 I was admiring in the chemist all the beautiful coloured bandaids. You know the ones with Disney characters or wiggles. As I was standing there i had a thought that i could make my own.
Well, I could put my own spin on it.


So I got some plain bandaids and some fabric paint and painted designs. I just used a cotton bud diped in the lid of the paint.

The kids thought it was great because they got to choose what colours and designs.
A good little school holiday project.

Felicity XO

Friday, 7 August 2015

Jeans for Genes Day! Today!!! Fabric painting Fun with your kids!

Good Morning! Its Siann again enjoying Pebeo's fabric paints
What better day to have a ball painting your boring Jeans than on Jeans for Genes Day! Pick out your plain jeans and entertain your children for a fun time crafting. With the added bonus of creating a funky pair of Jeans that are a complete original walking masterpiece!


Check out How to Jeans for Genes Day by Siann Watts on Snapguide.

Wednesday, 29 July 2015

DIY fabric coasters


Hello!
Felicity here with you today.

Had a little creative fun the other day. Had an old pair of denim jeans laying around and thought it would look good to create something with them.

I then got out my stencils and fabric paint and painted away with no real idea of what to do.
After I finished painting I then decided they would look really good as denim coasters.


I challenge to just use play and experiment!!
They super cute presents that don't cost a fortune.

Felicity XO

Friday, 10 July 2015

School holiday DIY for kids


Hello! Felicity here today.
I have something to share today that is super fun and super easy.

On the last day of Term 2, my eldest son need some 'crazy' socks. All we had to choose from was some school socks and some tidy socks, you know used for town and special occasions. I didn't want to go to the shops to look  for a pair of crazy socks, so we opted to look in my draw of socks and found a pair of knee length black socks! Perfect.

So we cut some triangles out of felt and sewed them into the back of the socks. Check this pin out on pinterest, it has great way to show you how to do it.


Then we finished them off with some green fabric paint. My son even could do it. Just dip your brush in the paint and then onto the sock.


Then we have crazy socks!

A great fun school holiday project.

Felicity XO


Monday, 29 June 2015

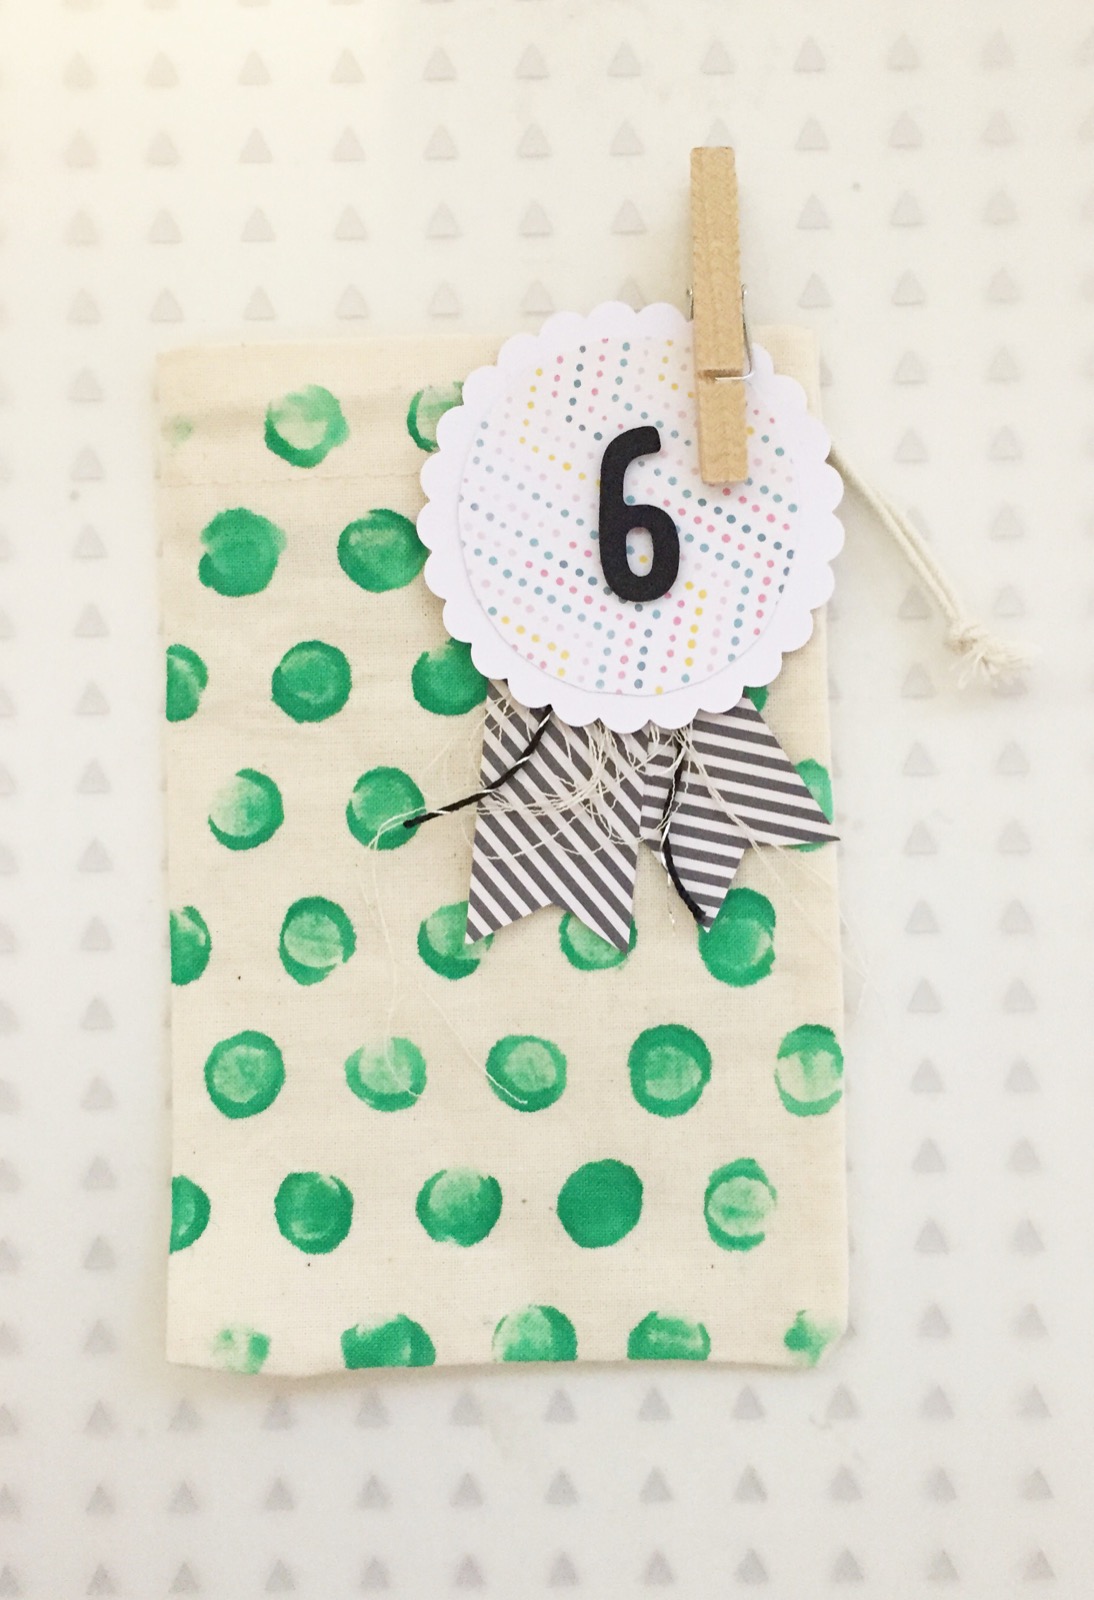
Fabric painted Calico bags with Felicity


Hello! Felicity here today.

In my studio I have been experimenting with simple ways to use fabric paint. I wanted to create something that was cute and that didn't involve a lot of supplies or a lot of time.
Now having 3 little children to take care of and no spotlight or lincraft in town, I wanted to create something I had stashed away that was collecting dust.

I used 3 supplies
Calico bags
Fabric paint
Stencils.

I decorated, very simple and quickly a few calico bags. I use these bags a lot. There great for when my son wants to give a little 'something' to his mates for a birthday or his school teacher to simple say 'thank you'.

1.First all I did was lay a dottie stencil on the bag.
2.Then I put a small amount of fabric paint on a baby wipe.
3.Then I simply wiped over the stencil with the baby wipe.

I did at first try to use a paint brush and dab it on, but it didn't give me the even layer of paint or affect I wanted as you can see, compared to the other 3 bags.


I think the baby wipe allows the paint to move smoothly because of the little moisture that comes from the baby wipe.

Something so simple, yet effective. Even better the kids can do it too!

Products used: Fabric paint - Oriental blue, Light green, Butter cup
Felicity XO

Saturday, 27 June 2015

GDT- Karen Hawkins "Smoosh Painting"

Fabric 'Smoosh' Painting with Setacolor

Hi all!

  Karen@WhimsiKa here!

Today I have a simple tutorial on how to make sweet little fabric squares using Pebeo Setacolor Fabric paints and, what I call, the 'smoosh' technique.

  The fabric for this project needs to be a fairly lightweight and at least 50% natural fibre OR use good old baby wipes. The brand I mention at the start of the video is lovely and thick and allows for plenty of 'smooshing'. 
My washing line has never looked so pretty!

  I love that we can use this technique to make duplicate prints while a piece is still wet...just add a little spray of water, overlay with another piece of fabric and 'smoosh' the paint in with a brayer (you could also use a rolling pin, a baron or any other rounded object). Just remember, the more prints you take from one piece, the paler the colours will become


  The resulting pretty fabrics can be used in a fabric collage, or sewn into bags or cut up and turned into embellishments...so many uses (see the video for other ideas)

NB. One point I'd like to make...the stain you see on my fingers is NOT from the Setacolor paints, but from a previous project. The Setacolor paint washes off the skin quite easily!


You could also quilt on it.


Fabric flowers is one option for your hand
painted fabric


Hope you have fun getting messy with this technique. I sure love the surprise thst each piece gives me!

Hugs Karen!


Wednesday, 10 June 2015

Fabric painted Notebook covers with Felicity


Hi! Felicity here today.
I have been seeing around the www and Instagram some really super cute beautiful midori fabric notebooks. The fabric covers are so cute.
I decided to make a couple myself to go in my hot pink pocket size midori.
They turned out so pretty.


I simply cut some calico fabric, choose my stencils and put some fabric paint on a baby wipe and wiped over the stencil.
Then I used some strong glue and adhered the calico to scrapbook paper.
Then I cut up some water colour paper  and stable it inside the cover.


Didn't they turn out great. :-)

Products used: Fabric paint - Oriental blue, Light Green, Bengal Pink: Canson Drawing 220 paper and watercolour paper.
XOXO